
Wiring one yourself is a popular weekend project. But your results depend entirely on correctly identifying your wiring configuration, terminals, and where power enters the circuit. Get any of that wrong, and you'll end up with a switch that only works half the time.
This guide walks through how 3-way switches work, step-by-step wiring instructions, the tools you'll need, common mistakes, troubleshooting tips, and when it's time to call a licensed electrician like Tri-County Electric Service.
TL;DR
- A 3-way circuit uses two switches with common and traveler terminals to control one light from two spots
- Wiring depends on where power enters and where the light fixture sits relative to the switches
- Always kill the breaker and verify with a voltage tester before touching any wires
- Reversing common/traveler wires causes malfunctions, tripped breakers, or safety hazards
- If your wiring doesn't match a known diagram, call a licensed electrician
How to Wire a 3-Way Switch
Step 1: Turn Off Power and Remove Old Switches
Shut off the circuit breaker for that circuit. Then confirm the wires are de-energized using a voltage tester at both switch locations. Don't trust breaker labels alone.
Once confirmed safe:
- Remove faceplates and mounting screws
- Gently pull each switch from the wall
- Photograph the existing wiring before disconnecting anything
Note which cable carries incoming power and which one leads to the light fixture. You'll need this reference later.
Step 2: Identify Common and Traveler Terminals
Every 3-way switch has one common terminal (usually a darker screw) and two traveler terminals (typically brass-colored). According to The Spruce's breakdown of 3-way switch anatomy, the common terminal carries the hot wire at one switch and connects to the light fixture at the other.
The two traveler wires run between the switches and can connect to either traveler terminal. They're interchangeable. The common terminal is not interchangeable with either traveler.
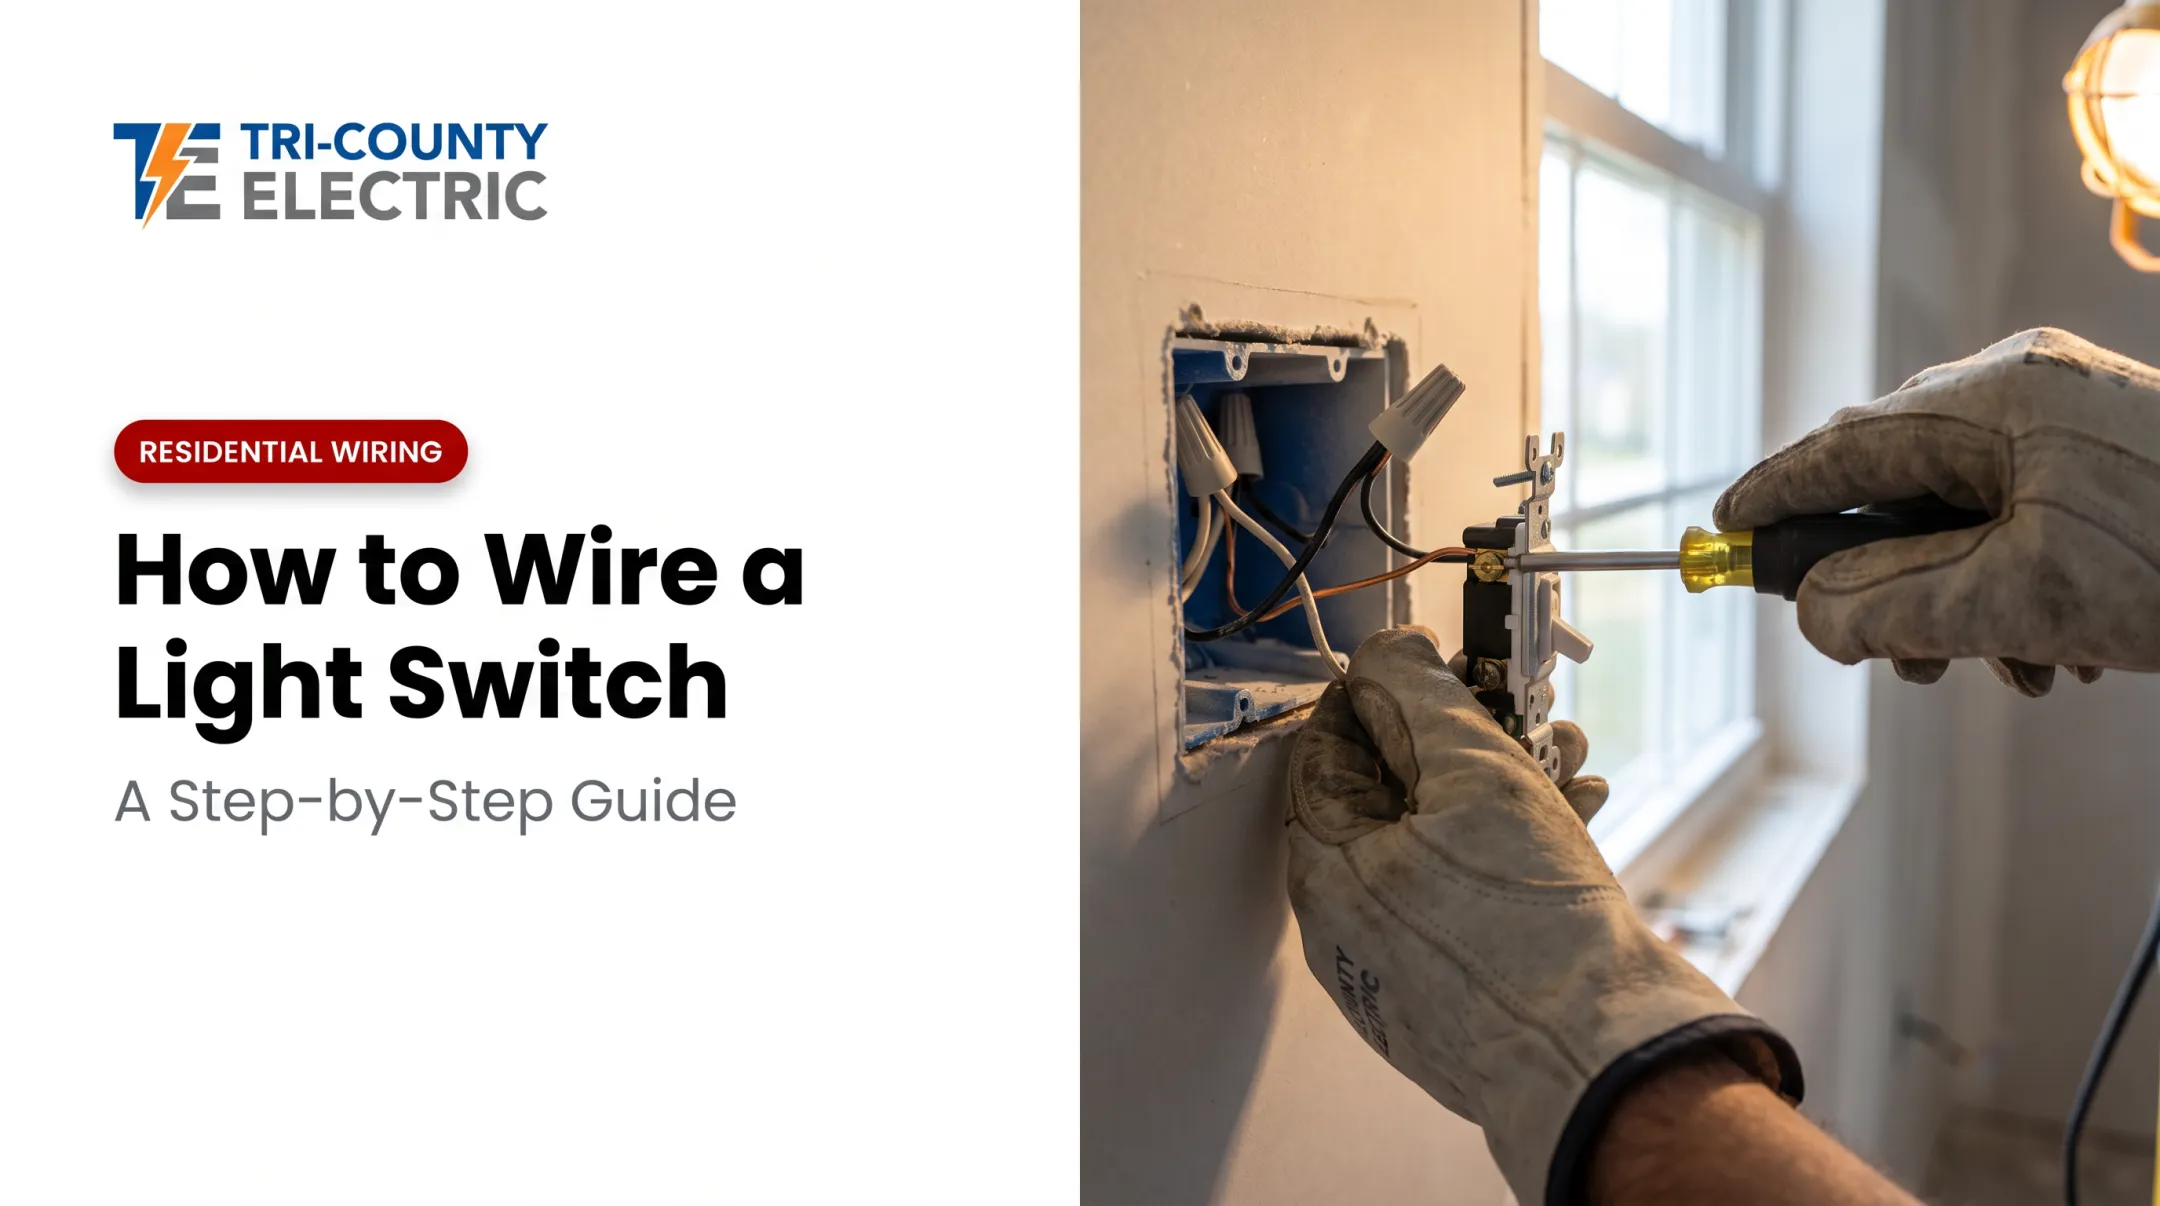
Step 3: Connect the Wires at Each Switch
- Connect the black/hot wire to the common terminal on the first switch
- Connect the wire to the light fixture to the common terminal on the second switch
- Connect the red and black traveler wires to the two traveler terminals on both switches
- Attach the ground wire to the green screw at each switch box
- Secure every connection with wire nuts, then wrap with electrical tape
Double-check your photo from Step 1 against your new connections before moving on.

Step 4: Secure Switches and Test the Circuit
Fold the wires carefully into the box, then screw the switch into place. Attach the faceplate and restore power at the breaker.
Test the light from both switch locations. The light should turn on and off correctly no matter which switch you use. If it doesn't, don't force it. Head to the troubleshooting section below.

When Should You Wire a 3-Way Switch Yourself?
DIY wiring works well when the existing setup matches a standard configuration you can clearly identify. It's best suited for homeowners who can distinguish common wires from traveler wires and are confident working safely with household electrical circuits.
Call a professional instead when:
- The wiring is unclear, modified, or doesn't match any standard diagram
- Your home is older and lacks a ground wire
- You need a 4-way switch setup (three or more control points)
- You have any doubt about identifying the circuit correctly
Tri-County Electric Service's licensed electricians handle these installations safely. They can also discuss smart-home switch options during the same visit if you want to upgrade beyond a standard mechanical switch.
What You Need Before Wiring a 3-Way Switch
Having the right tools and a clear read on your wiring layout prevents costly mistakes and rework.
Tools and materials:
- Two 3-way switches rated for your circuit
- 14/3 or 12/3 NM cable with ground (for travelers)
- Wire strippers and needle-nose pliers
- Non-contact voltage tester
- Wire nuts and electrical tape
- Flathead and Phillips screwdrivers
Wiring identification:
Before you buy materials or open a wall box, map the circuit. Confirm whether power enters at switch one, switch two, or the light box, and where the fixture sits relative to both switches. That layout sets your entire wiring path.
Key Factors That Affect Your Wiring Outcome
Small differences in circuit layout change which wires go where. Getting these three factors right up front saves you a lot of frustration later.
| Factor | Why It Matters | Impact If Wrong |
|---|---|---|
| Power entry point | Determines which switch gets the hot wire on its common terminal | Circuit never completes |
| Light fixture location | Light between switches vs. after both changes the wire path | One switch controls the light, the other does nothing |
| Cable type (14-2 vs. 14-3) | 14-3 carries the travelers between switches; 14-2 typically runs to the fixture | Not enough conductors to finish the circuit |
According to This Old House's wiring reference, the standard setup uses a two-wire feed to the first switch, a three-wire cable between switches, and a two-wire run to the light.
Southwire's 14-3 NM-B cable includes three insulated conductors (black, red, white) plus ground—exactly what the inter-switch run needs for both traveler wires.

Common Mistakes When Wiring a 3-Way Switch
Even experienced DIYers trip over these:
- Confusing common with traveler: The light only works in certain switch positions instead of from both ends.
- Skipping the voltage tester: Never assume breaker labeling is accurate—confirm power is off before you touch any wires.
- Forcing wires into terminals: Bent or overcrowded connections loosen and can overheat; seat each wire cleanly.
- Wiring without a diagram: Match your configuration to a verified diagram first—don’t guess.
- Ignoring the ground wire: Grounding isn’t optional. It’s a required safety connection at every switch box.
If any step feels unclear, stop and call a licensed electrician rather than troubleshooting a live circuit.
Troubleshooting a 3-Way Switch Circuit
Even careful DIYers hit snags after installation. Here's how to work through the most common ones.
Light Doesn't Turn On At All
Likely cause: A bad bulb, tripped breaker, or a loose/incorrect wire connection.
What to check: Test the bulb and breaker first. If both are fine, turn off power at the breaker, then inspect the common and traveler connections at each switch.
One Switch Only Works in a Certain Position
Likely cause: A common wire got connected to a traveler terminal.
What to check: Turn off power, then compare your wiring against a verified diagram before adjusting anything.
Breaker Trips Repeatedly After Restoring Power
Likely cause: A short circuit or damaged wire insulation.
What to check: Don't keep resetting the breaker. Repeated trips signal a real fault. Call Tri-County Electric Service or another licensed electrician to diagnose it safely. This isn't a guess-and-check situation.

Frequently Asked Questions
Which wire goes to the common terminal?
It depends on your circuit layout. The common terminal connects to either the incoming line or the outgoing load, so you need to identify your specific configuration first.
How do I identify the common terminal?
It's usually a different color from the two traveler terminals and often marked directly on the switch body itself.
What happens if you wire a 3-way switch wrong?
Miswiring can cause one or both switches to malfunction, work only in certain positions, or trigger a short circuit that trips the breaker.
Can I install a dimmer in a 3-way circuit?
Some dimmers support 3-way circuits, but compatibility depends on the specific dimmer and companion switch. Always follow the manufacturer's installation instructions closely.
What's the difference between a 3-way and 4-way switch?
A 3-way switch controls a light from two locations. A 4-way switch gets added between two 3-way switches when you need three or more control points.
What should I do if my wiring doesn't match any standard diagram?
Stop immediately, turn off the breaker, and contact a licensed electrician. Tri-County Electric Service offers free estimates and serves Cleveland and Northeast Ohio. Call (440) 583-6895 or schedule online for non-emergency requests.