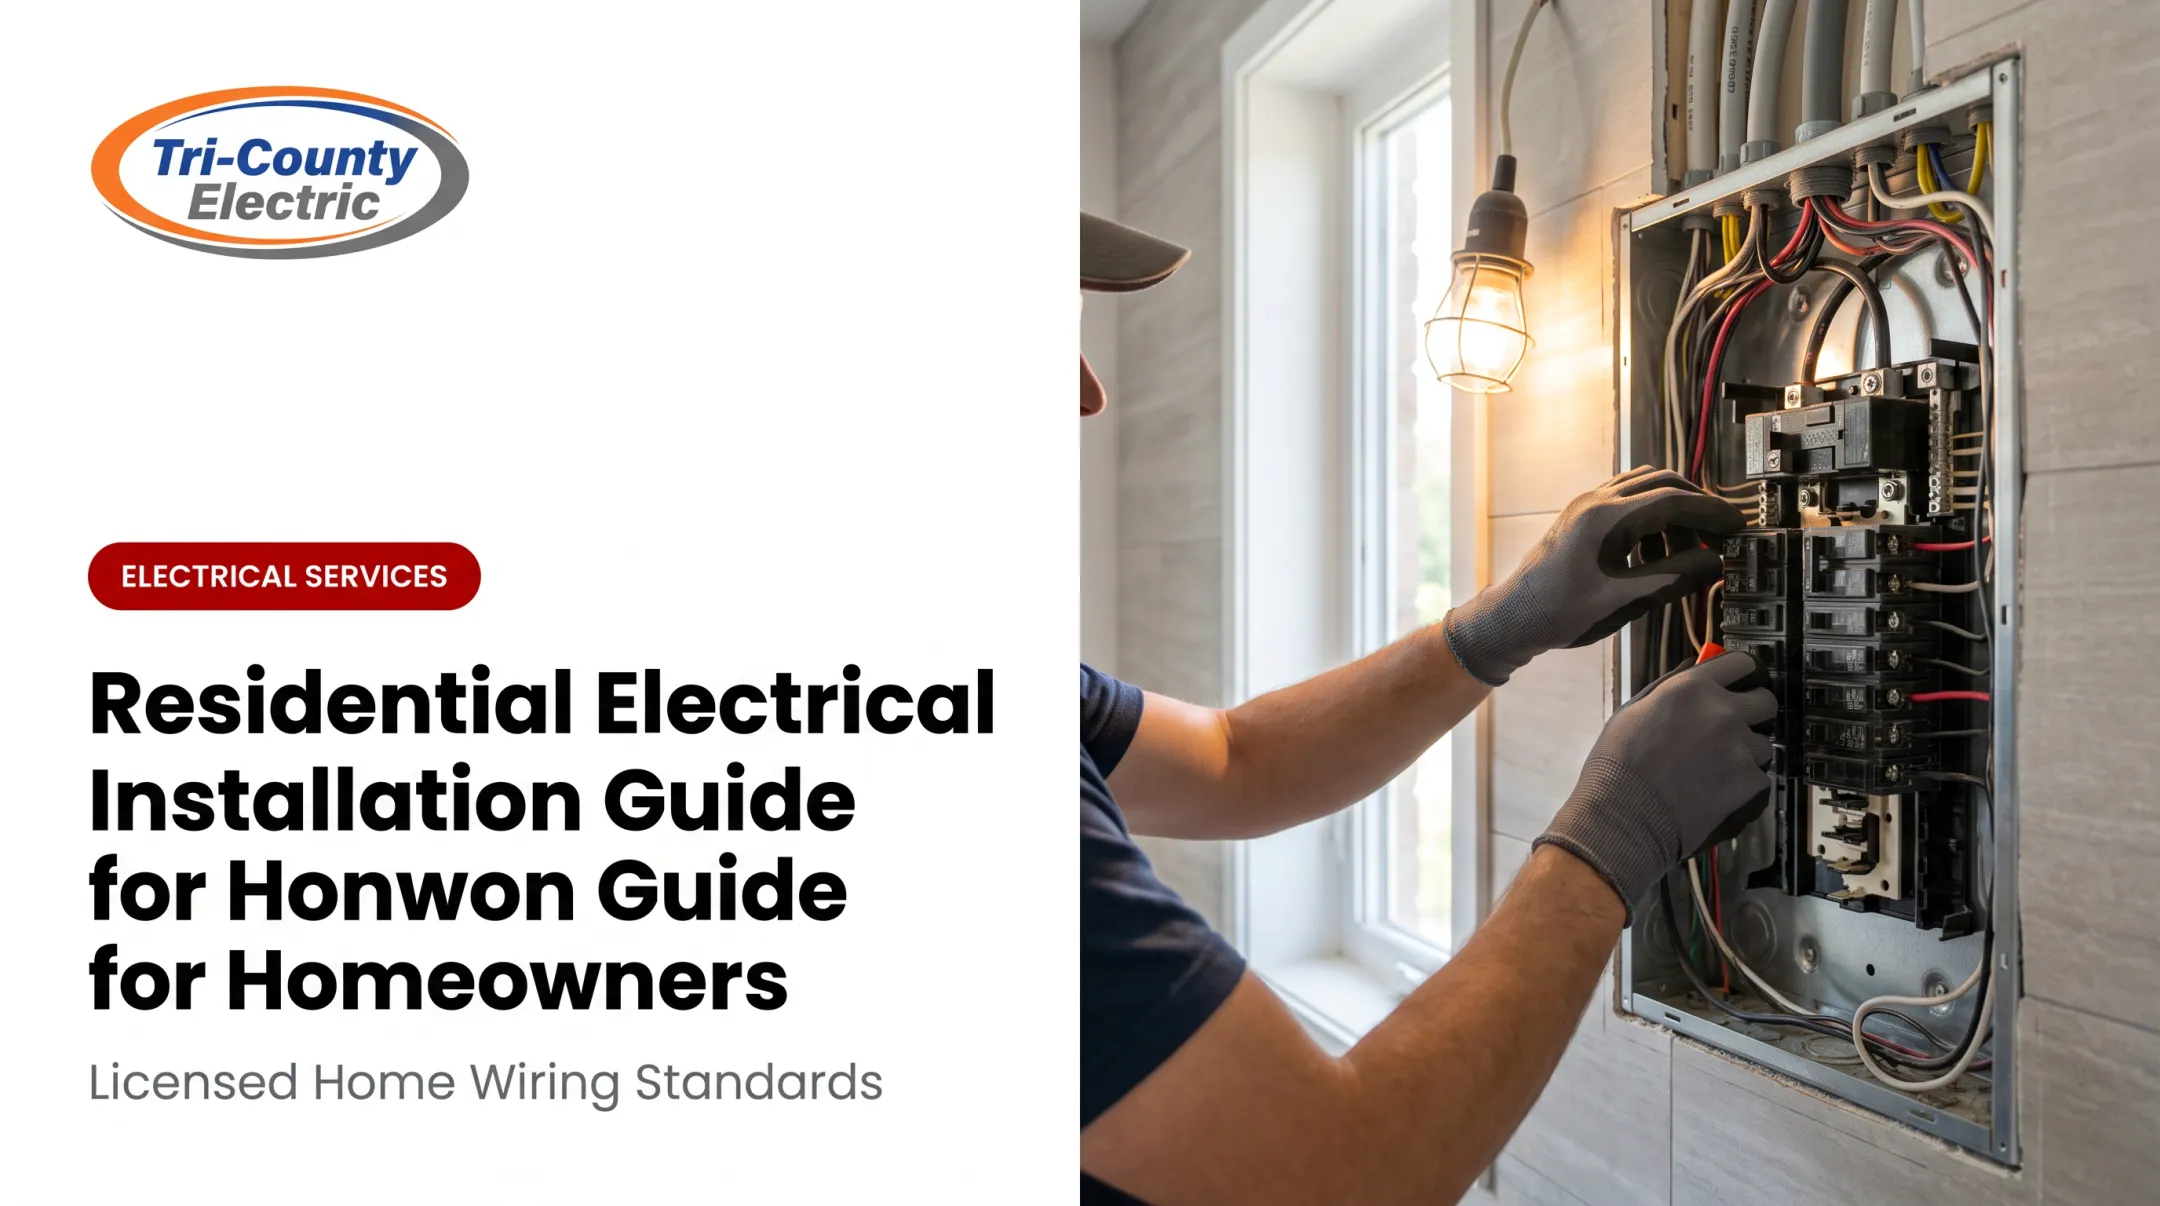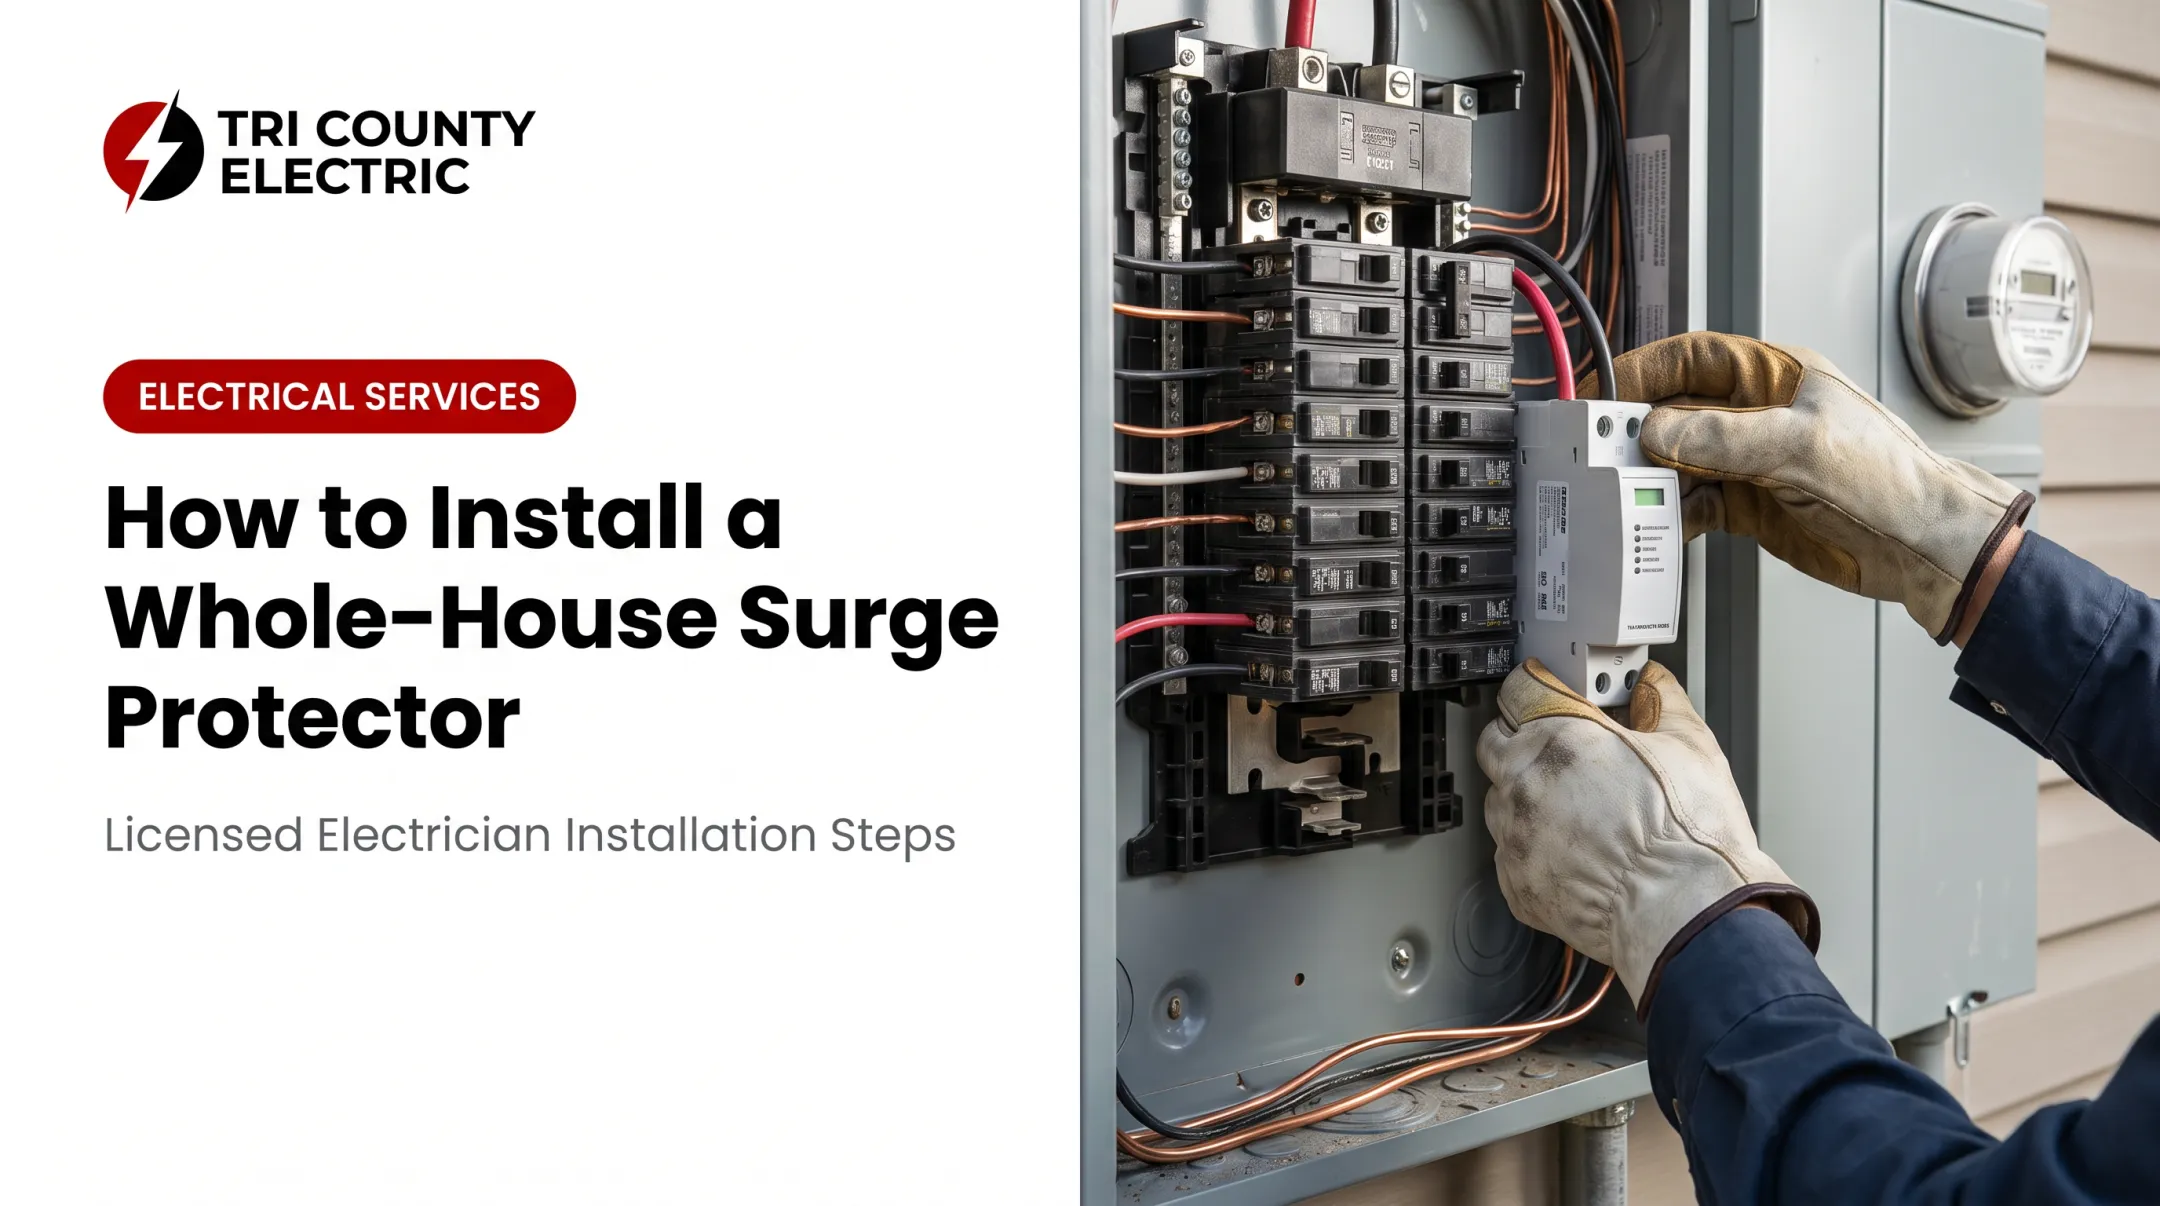

Experienced DIYers can handle parts of this job. However, permits and final connections should always involve, or at least be verified by, a licensed electrician. Get it wrong and you're looking at fire hazards from improper grounding, failed inspections that delay your project for weeks, or shock hazards from neutral-ground bonding mistakes.
This guide walks through the complete, code-compliant process of installing a subpanel, from planning through final inspection.
TL;DR
- A load calculation, proper feeder sizing, and a permit come before any wiring begins
- Standard feeders use 4 wires (2 hots, neutral, ground), with neutral and ground isolated in the subpanel
- Detached structures need a separate grounding electrode system; same-structure subpanels typically don't
- Post-installation testing and inspector sign-off are mandatory steps, not optional extras
Installation Guide for a Subpanel
The process breaks into six phases: planning (load calculation and permit), panel and wire selection, mounting, wiring, connecting to the main panel, and inspection/validation.
Set your expectations now. This is a multi-day project that takes electrical knowledge, code research, and usually direct coordination with a local inspector. Many homeowners hire a licensed electrician for the full job—or at least the main-panel tie-in. Rushing any phase, especially grounding and bonding, is how projects fail inspection or create unsafe conditions.
Prerequisites and Safety Considerations
Before you touch a single wire, pull a permit and confirm local code requirements. Most U.S. cities and counties require electrical permits for subpanel work, and enforcement varies by jurisdiction.
Next, run a load calculation. NEC Article 220 governs how you calculate the feeder load for your proposed subpanel, and this determines the correct amperage, not the panel's maximum label.
Clearance matters too. The NEC's 110.26 working space rule requires roughly 30 inches wide by 36 inches deep of clear space in front of any panel likely to be worked on while energized.
Three non-negotiables:
- Never work on a live panel
- Never skip the permit or inspection process
- Never combine neutral and ground in the subpanel
Tools and Parts Required
You'll need a listed load center sized to match your feeder and a two-pole breaker for the main panel. Add feeder cable—copper or aluminum—sized to your calculated load.
Parts checklist:
- Subpanel/load center matched to feeder amperage
- Double-pole breaker (main panel side)
- Feeder cable (2 hots, neutral, ground)
- Conduit, if the installation calls for it
- Grounding rod, only if feeding a detached structure
- Isolated neutral bar and bonded ground bar for the subpanel
Tools:
- Wire strippers
- Torque screwdriver (manufacturer-specified values matter here)
- Hole saw for metal enclosure penetrations
- Voltage tester
Matching your subpanel brand to existing equipment isn't required, but it makes breaker compatibility and replacement parts easier later. If load calculations, permitting, or the main-panel connection are outside your experience, Tri-County Services can handle the job with licensed electricians and upfront pricing.
How to Install a Subpanel (Step-by-Step)
Installation follows a defined sequence. Skip a step like clearance verification or grounding isolation, and you're likely looking at rework or a failed inspection. Subpanel work is live-service electrical work—hire a licensed electrician rather than treating this as a DIY project.
Select and mount the subpanel location. Confirm working clearance and stud spacing before drilling a single hole. Surface-mount or flush-mount according to the manufacturer's instructions.
Run the feeder cable or conduit. Size the conductor based on amperage, distance, and voltage drop. Longer runs need larger conductors, full stop.
Connect the feeder to a new dedicated breaker in the main panel. Power must be off at the main panel before you touch a single lug. Land the other end at the subpanel's lugs.
Install separate ground and neutral bus bars. Remove any bonding jumper between them. A downstream subpanel keeps these isolated, unlike your main panel where they're bonded.
Connect branch circuits and torque every connection. Use the manufacturer's specified torque value, not a guess. Eaton, for example, specifies exact in-lb values for bonding screws and lug connections.

Before restoring power, close out the job with a quick verification pass:
- Label every branch breaker and the feeder breaker in the main panel
- Confirm neutrals and grounds land on isolated bars with the bonding jumper removed
- Reinstall the cover, confirm clearances, and recheck torque on accessible lugs
- Restore power only after a final visual check
A licensed electrician handles permitting, torque specs, and inspection readiness so the panel passes the first time.
Post-Installation Checks and Validation
Before you flip any breakers, do a visual pass. Check every connection, confirm labeling, and verify clearances are intact.
Functional testing sequence:
- Turn breakers on one at a time, not all at once
- Check voltage at each circuit with a meter and confirm readings match the expected range
- Verify each new circuit operates as expected
A local electrical inspector (your AHJ) must sign off on both rough-in and final work for code compliance. In most U.S. jurisdictions, rough inspection happens before any wiring or conductors are covered, and final inspection follows labeling and energization.

Skip these checks and you risk a failed inspection—plus latent issues such as overheating conductors or nuisance tripping that surface months later, when troubleshooting costs more.
Common Installation Problems and Fixes
Even a careful subpanel install can fail on bonding, feeder size, or inspection details. Catch these issues early so you are not chasing trips, voltage drop, or a failed re-inspection.
Issue 1: Neutral-Ground Bonding Errors
Problem: The subpanel is bonded like a main panel, creating unintended paths for neutral current.
Cause: The bonding jumper (often a green screw) was left in place.
Fix: Remove the jumper, then confirm isolated buses with a continuity test between neutral and ground.

Issue 2: Insufficient Feeder Capacity
Problem: Voltage drop or nuisance breaker tripping under normal load.
Cause: The conductor is undersized for the run length or amperage.
Fix: Recalculate using NEC ampacity tables and upsize the conductor gauge accordingly.
Issue 3: Failed Inspection Due to Clearance or Labeling
Problem: The inspector rejects the installation outright.
Cause: Insufficient working space in front of the panel, or missing circuit labels.
Fix: Restore required working clearance if the panel can be relocated, and add a complete circuit directory before re-inspection.
If bonding, feeder sizing, or clearance fixes are unclear, have a licensed electrician correct the work before energizing the panel.
Pro Tips for Installing a Subpanel Effectively
- Label circuits as you wire them. Waiting until the end invites mix-ups that are hard to untangle later.
- Schedule your rough-in inspection before closing walls or covering conduit. Once it's buried, an inspector can't verify what's inside.
- Verify grounding electrode requirements for detached structures with a licensed electrician. Local amendments vary by jurisdiction, and NEC 250.32 raises grounding issues that don't apply to same-building subpanels.
- Hire a licensed electrician for the final connection and inspection sign-off. Complex loads like EV chargers or generators need that step done right. Tri-County Electric Service handles these connections regularly across Northeast Ohio.
Conclusion
Subpanel installation quality directly affects home safety, code compliance, and how reliably your electrical system performs for years to come. Careful planning, strict permit compliance, and professional verification aren't extra steps. They're the job.
Tri-County Electric Service has served Northeast Ohio homeowners for nearly 50 years with licensed, code-compliant electrical work. If you want a subpanel installed to code—or need a pro to verify the job—their electricians handle the details that keep your system safe and reliable.
Frequently Asked Questions
How much does it cost to add a sub panel to your breaker box?
Cost varies based on amperage, distance from the main panel, and labor involved. For an accurate number specific to your home, request a free estimate from a licensed electrician like Tri-County Electric Service.
Can you add a sub panel if the main panel is full?
Yes. A sub panel is often the exact solution when your main panel runs out of breaker spaces, since it adds capacity without requiring a full panel replacement.
Can you wire a sub panel from another sub panel?
In some cases, yes, but it requires careful load and code review to make sure the feeder and overcurrent protection are sized correctly. Consult a licensed electrician before attempting this.
Does a sub panel need 3 or 4 wires?
Modern code requires a 4-wire feeder: two hots, a neutral, and a ground, with the neutral and ground kept isolated inside the sub panel. Older 3-wire setups are legacy installations that need evaluation, not a model to copy.
What is the 80% rule for sub panels?
It's shorthand for how continuous loads are calculated: they're counted at 125% of their rating when sizing conductors and breakers, effectively limiting continuous use to 80% of capacity. It's not a rule that caps every panel's usable capacity outright.
How far can I run a sub panel from the main panel?
There's no strict maximum distance. Longer runs simply require larger conductors to keep voltage drop within acceptable limits, typically referenced as 3% for a branch circuit and 5% combined with the feeder.