

A light that has power but won’t turn on usually comes down to one of five things: a burned-out bulb, a poor socket contact, an incompatible dimmer or smart switch, a loose neutral connection, or a dead LED driver. Try a known-good bulb first. If you smell burning, feel heat at the switch plate, or the breaker keeps tripping, stop testing and call a professional at (440) 253-0332.
TL;DR:
- A dead LED driver or an incompatible dimmer can cause lights to stay off despite power being present; verify components match specifications.
- A loose neutral connection or corroded socket contact often produces flickering or intermittent lighting, especially in LED fixtures.
- Ghost voltage readings from non-contact testers are common and can mislead; a low impedance multimeter or known-good bulb can confirm real power.
- Faulty switches, especially older or smart models, may fail internally or be incompatible with load type, requiring proper testing or replacement.
- Persistent issues after completing the checklist often indicate wiring faults or fixture failures that necessitate professional diagnosis and repair.
Table of Contents
- The Minute-Long Checklist Before You Open Anything Up
- What Tools and Safety Steps Do You Actually Need?
- Is the Power Real, or Is It Ghost Voltage?
- Could the Bulb or Socket Be the Real Problem?
- Is the Wall Switch, Dimmer, or Smart Switch to Blame?
- Why a Loose Neutral Can Fool You Completely
- Could the LED Driver or Ballast Be Dead?
- What About Smart Bulbs That Won’t Respond?
- When Should You Stop and Call a Professional?
- How Do You Confirm the Fix Actually Holds?
- Where to Go for More Detail
- Why Most Troubleshooting Guides Are Already Out of Date
- Get a Professional Diagnosis From Tri-County Services Electric & Plumbing
- Sources
- FAQ
The Minute-Long Checklist Before You Open Anything Up
Before touching wires or pulling a fixture apart, run through these quick checks in order. Most “power but no light” problems get solved or at least narrowed down in this first pass.
- Swap in a known-good bulb. Grab a bulb you know works from another fixture and try it. This single step solves the problem more often than anything else.
- Reset the breaker and any GFCI outlets. Flip the breaker fully off, then back on. Check for GFCI outlets nearby, since some circuits route lighting through them.
- Feel and listen at the switch. A warm switch plate, a buzzing sound, or a switch that feels loose in the wall are all signs of a deeper problem, not a simple bulb issue.
- Stop if you notice any hazard sign. Burning smell, visible scorch marks, or a breaker that trips again immediately means it’s time to call (440) 253-0332 rather than keep testing.
What Tools and Safety Steps Do You Actually Need?
You do not need a full toolbox for this. A non-contact voltage tester, a multimeter with a LoZ (low impedance) setting, and a bulb you know works will cover almost every situation a homeowner should be handling.
- Turn off the breaker feeding the circuit, not just the wall switch, before opening any fixture or switch cover.
- Verify the circuit is actually dead with your tester before touching a single wire.
- Use a stable ladder on level ground, and never stretch to reach a fixture, even for one extra second.
- If you see exposed, frayed, or blackened wiring, close everything back up and step away.
Pro Tip: A non-contact voltage tester can light up on a wire that has no usable power at all, a phenomenon called ghost voltage. If your tester says “live” but the bulb still won’t glow, don’t trust the tester alone. That’s exactly the scenario a LoZ multimeter or a known-good bulb under load is built to catch. The Electrical Safety Foundation International recommends cutting power at the breaker before any fixture work, since the wall switch alone doesn’t guarantee the circuit is dead.
Is the Power Real, or Is It Ghost Voltage?
“Power but no light” often isn’t really about power at all. It’s about whether that power is usable.
Start with the breaker box. A tripped breaker sits in a middle position instead of fully on. Flip it firmly off, then on. If it trips again right away, that’s not a fluke. It usually means a short or overload somewhere on that circuit, and it’s a sign to call a professional rather than keep resetting it.
- Reset the breaker fully. Push it past off before switching back on, since a breaker that looks “on” can still be tripped.
- Check for GFCI outlets on the same circuit. Some lighting circuits, especially in garages, bathrooms, and outdoor fixtures, run through a GFCI outlet that needs its own reset button pressed.
- Rule out ghost voltage. Non-contact testers pick up capacitive coupling from nearby wires, showing “power” where none is actually usable. A LoZ multimeter setting collapses that false reading, giving you a real answer.
- Try the known-good bulb test. If a bulb that works elsewhere still won’t light in this fixture even after confirming real voltage, the problem is downstream of the wire, likely the socket or fixture itself.
Could the Bulb or Socket Be the Real Problem?
Bulbs fail more often than any other component in a lighting circuit, which is why it’s step one, not step five. But if a fresh bulb still doesn’t light, the socket itself deserves a look.
With the breaker off and verified dead, check the center contact tab inside the socket. It should sit slightly raised. If it’s pushed flat, gentle pressure with a small screwdriver (power still off) can restore contact. This happens more than most people expect, especially after a bulb was screwed in too aggressively.
- Look for corrosion or a greenish tint on the metal socket threads, which blocks a clean electrical connection.
- Check for burn marks or melted plastic around the socket base, both signs the fixture itself has failed.
- Confirm the bulb’s base actually matches the socket type and wattage rating listed on the fixture.
- If the fixture is a recessed can, know that built-in thermal protectors can cut power periodically when the can overheats, mimicking a random “no power” fault.
A community discussion on DIY StackExchange captures this well: a fixture can test “live” with a simple tester while the actual contact under load is too weak to complete the circuit. Corrosion, burn marks, or melted insulation all mean the fixture needs replacing, and that’s a job for a professional rather than a repair attempt.
Is the Wall Switch, Dimmer, or Smart Switch to Blame?
A switch can fail electrically while still feeling normal to flip. Testing it properly means taking it out of the equation entirely.
- Kill the breaker and confirm it’s dead. Then pull the switch from the wall box.
- Test for continuity across the switch terminals with the switch in the “on” position, using your multimeter’s continuity setting. No continuity means the switch has failed internally.
- Check dimmer compatibility if it’s an older model. Legacy incandescent dimmers often need a minimum electrical load to function correctly, something plain old bulbs provided automatically. Modern LEDs draw so little current that they can flicker, buzz, or refuse to light on a dimmer built decades before LEDs existed.
- Rule out smart switch quirks. Many smart switches without a dedicated neutral wire use a small trickle current, typically in the low milliamp range, to keep their electronics and Wi‑Fi radio powered. That trickle can cause a faint glow or outright failure in sensitive LED bulbs.
Pro Tip: If a smart switch is acting strange, try a full power cycle first: flip the breaker off for 30 seconds, then back on, and check the app for a stuck “on” or “off” state before assuming the switch itself has failed.
Why a Loose Neutral Can Fool You Completely
This is the failure mode that trips up even confident DIYers. A loose neutral connection can let a tester show voltage at the fixture while delivering almost no usable current, especially with LED bulbs that draw so little power that a marginal connection simply can’t push enough through.
Check three spots: the wire nuts inside the fixture’s junction box, the connections behind the switch plate, and any splice points along the circuit if you can access them safely. Snap a photo of each connection before you touch anything, so you have a record if a professional needs to see what you found.
- A loose neutral often shows up as a light that flickers, dims randomly, or works intermittently rather than failing outright.
- Scorch marks or melted wire nut plastic mean stop immediately and call a professional.
- A breaker that trips repeatedly after you’ve reset it points to a fault beyond a simple loose wire.
Could the LED Driver or Ballast Be Dead?
Integrated LED fixtures and older fluorescent setups don’t use a simple bulb and socket. They rely on a driver or ballast to convert household power into what the light source actually needs, and that component fails independently of everything else.
- A fixture that hums, flickers rapidly, or glows faintly without ever reaching full brightness usually points to a failing driver, not the light panel itself.
- A dead LED driver is one of the more common causes of “has power, won’t light” complaints in newer integrated fixtures.
- Replacement drivers must match output type, wattage, and voltage exactly. A mismatched driver can shorten the life of the fixture or create a fire hazard.
- Because driver swaps involve matching specifications correctly and working inside a live junction box, this is a job worth handing to a professional rather than guessing at parts online.
What About Smart Bulbs That Won’t Respond?
Smart bulbs add a layer that standard troubleshooting doesn’t cover: the wall switch itself.
- Confirm the wall switch is left in the “on” position at all times. Most smart bulbs need constant line power to stay paired and responsive, so a switch that cuts power defeats the whole system.
- Power-cycle the bulb by cutting power for 30 seconds, then restoring it, before assuming it’s dead.
- Check the app for a pairing error or a bulb that’s dropped off the network entirely.
- Swap in a standard bulb to confirm the fixture itself has power and works. If the standard bulb lights up fine, the smart bulb needs replacing or re-pairing, not the fixture.
When Should You Stop and Call a Professional?
Some symptoms mean the checklist ends here, no matter how far you’ve gotten.
- Any burning smell, visible smoke, or scorch marks around a switch, outlet, or fixture.
- A switch plate or outlet cover that’s warm or hot to the touch.
- A breaker that trips again immediately after every reset attempt.
- Exposed, frayed, or blackened wiring anywhere in the circuit.
- A fault that keeps recurring even after you’ve replaced the bulb and checked the switch.
When you call Tri-County Services Electric & Plumbing at (440) 253-0332, have a few details ready: which breaker feeds the fixture, what type of fixture it is (recessed can, pendant, smart bulb, integrated LED panel), and which steps you’ve already tried. That information alone often cuts a diagnostic visit in half. Tri-County Services Electric & Plumbing has served Northeast Ohio homeowners since 1975, and every technician approaches a service call the same way this guide does: confirm real power first, then work outward from the simplest fix to the most complex one.
How Do You Confirm the Fix Actually Holds?
A light that works for five minutes isn’t the same as a light that’s actually fixed.
- Leave the fixture on for at least an hour under normal load and check for flickering, dimming, or unexpected shutoff.
- Cycle the switch on and off several times to confirm the connection holds under repeated use, not just once.
- Photograph the breaker label and any connections you touched, and keep a short note of what you did and when.
- If the fixture runs on an old dimmer, consider upgrading to an LED-compatible model to avoid repeat flickering down the road.
Where to Go for More Detail
A few sources back up the steps in this guide if you want to dig deeper into any one of them.
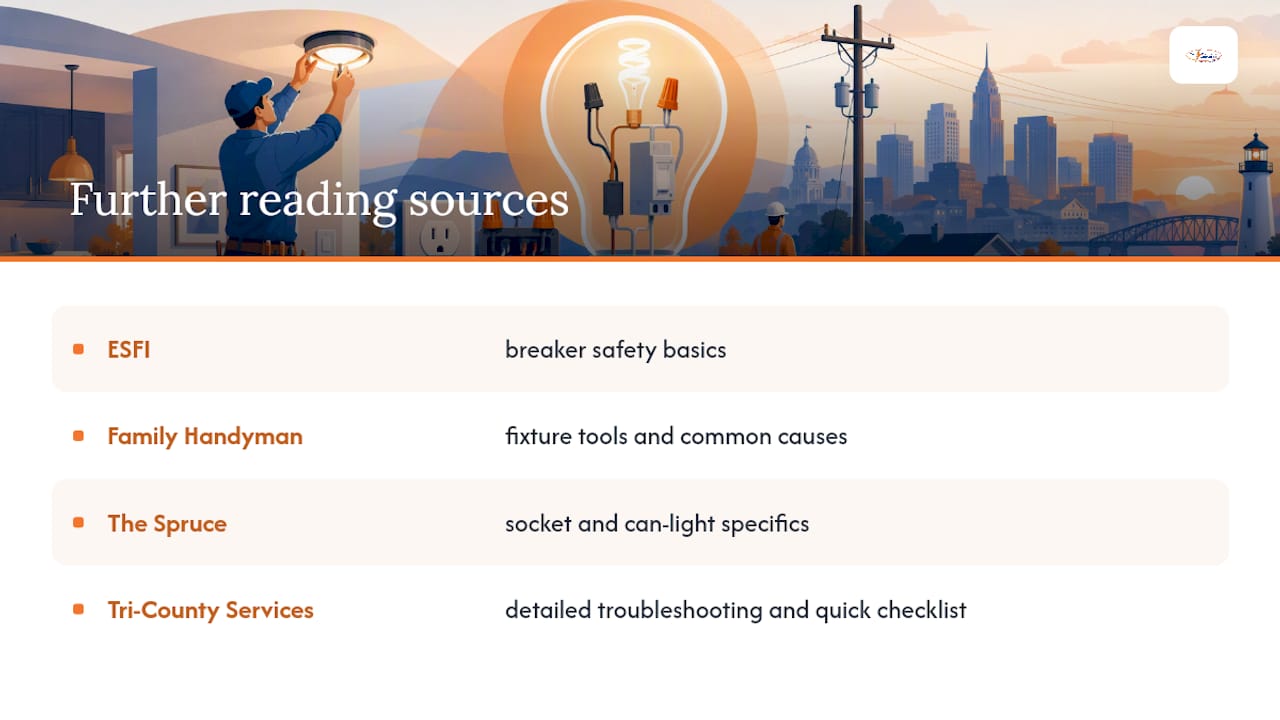
The ESFI’s overview of home electrical systems covers breaker safety basics every homeowner should know. Family Handyman’s fixture troubleshooting guide walks through tool use and common causes in more depth. The Spruce’s fixture guide covers socket and can-light specifics. Tri-County Services Electric & Plumbing also publishes a longer troubleshooting guide and a quick-fix checklist for homeowners who want more detail before calling.
Why Most Troubleshooting Guides Are Already Out of Date
Most lighting troubleshooting advice still floating around online was written for incandescent bulbs and mechanical dimmers, and it shows. It tells you to check the bulb, check the switch, call it a day. That advice worked fine in a world where every fixture drew enough current to mask a marginal connection.
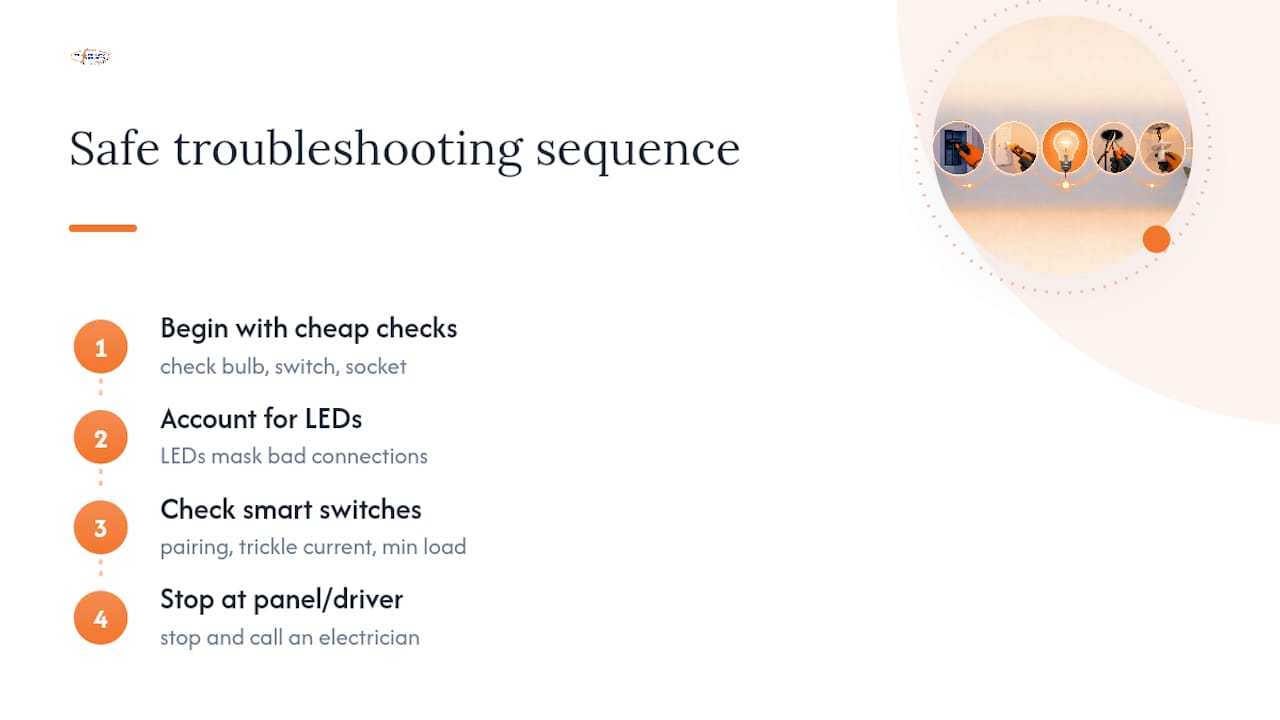
It doesn’t work anymore. LEDs draw so little current that a loose neutral or a corroded socket contact that would have let an incandescent bulb glow dimly for years will leave an LED completely dark. Smart switches add another wrinkle nobody wrote about a decade ago: trickle current, app pairing states, minimum load requirements that have nothing to do with the wiring itself.
The real shift homeowners need to make is treating “power but no light” as a sequencing problem, not a mystery. Cheapest and safest check first, always. But the moment a check points toward the panel, a driver, or wiring you can’t fully see, the smart move is stopping, not improvising. That’s not caution for its own sake. It’s recognizing that a fixture behaving strangely today is often a fixture with a real fault that gets worse, not better, if it’s ignored.
— Lindsay Paramore
Get a Professional Diagnosis From Tri-County Services Electric & Plumbing
You’ve run the checklist. Maybe the bulb’s fine, the breaker holds, and the switch tests clean, but the light still won’t turn on. That’s exactly where Tri-County Services Electric & Plumbing earns its keep: a fixture that’s already stumped a careful homeowner usually has a fault hiding somewhere a flashlight and a multimeter can’t fully reach, whether that’s a driver, a buried junction box connection, or panel capacity that’s been marginal for years.

Tri-County Services Electric & Plumbing has worked on homes across Northeast Ohio since 1975, and every technician shows up ready to pick up exactly where this guide leaves off, tracing the fault back to its actual source instead of guessing at parts. If your light is still dark after trying everything here, call (440) 253-0332 or schedule a visit through the electrical repair service page and get it fixed right the first time.
Sources
- Understanding your home electrical system — ESFI
- How to fix a light that will not turn on — Family Handyman
- Troubleshooting common problems with light fixtures — The Spruce
FAQ
Why is my light fixture not working but has power?
The most common causes are a burned-out bulb, a poor socket contact, an incompatible dimmer, a loose neutral connection, or a failed LED driver in integrated fixtures. Testing with a known-good bulb usually narrows it down fastest.
Why do I have power but no lights?
“Power” registered by a simple tester can be misleading. It might be ghost voltage rather than usable current, or a loose connection that lets voltage through without delivering enough current to light the bulb.
Can a light have power but still not turn on?
Yes. A non-contact tester can detect voltage on a wire that isn’t actually strong enough to power a bulb, a phenomenon known as ghost voltage caused by capacitive coupling from nearby wiring. A LoZ multimeter or a known-good bulb test gives a more reliable answer.
Why are my lights not turning on even though my outlets are working?
Outlets and lighting circuits are often on separate breakers or even separate GFCI protection, so one working fine doesn’t guarantee the other is. Check the specific breaker and any GFCI outlets tied to the lighting circuit before assuming a bigger problem.
When should I stop troubleshooting and call an electrician?
Stop immediately if you smell burning, see scorch marks, feel heat at a switch or outlet, or the breaker trips repeatedly after resetting. Call Tri-County Services Electric & Plumbing at (440) 253-0332 for a professional diagnosis.