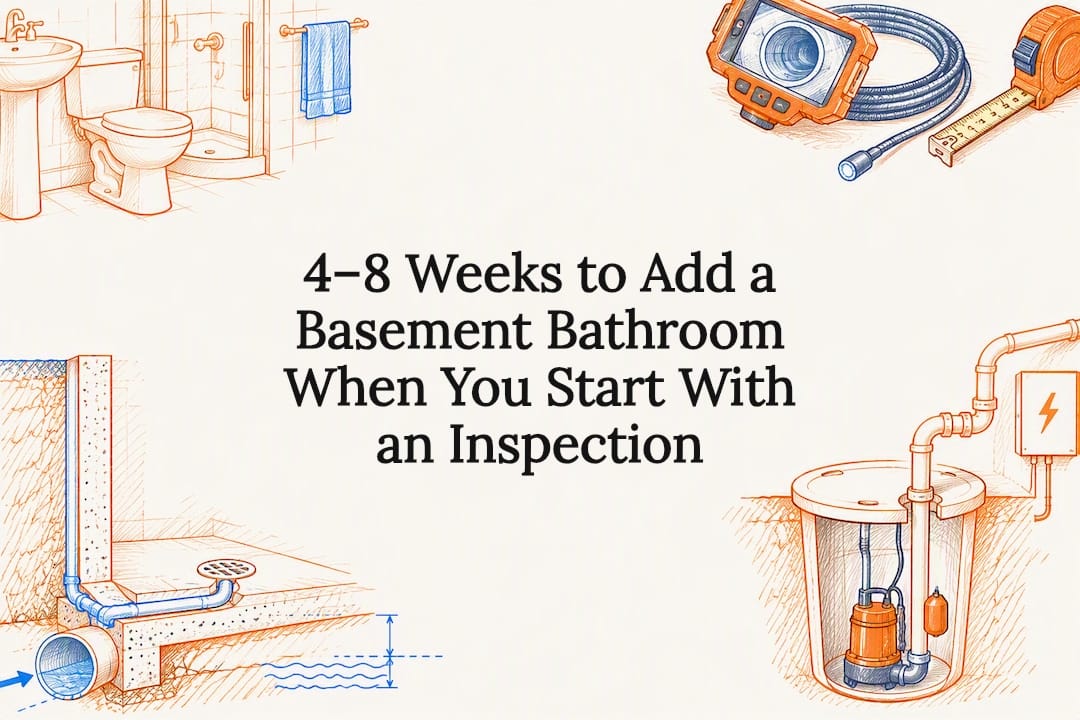


Adding a basement bathroom is almost always feasible, but drainage and whether a rough-in already exists decide the cost and the timeline. A basement with an existing rough-in can run a fraction of a full retrofit, while one without it means choosing between breaking the slab for gravity drainage or installing a pump-based system instead. Before you buy a single fixture, schedule a plumbing and electrical inspection to find out which situation you’re in.
TL;DR:
- Installing a basement bathroom with a full drain system may cost several thousand dollars more than a half bath with an existing rough-in, depending on slab work and fixtures.
- Drainage options include gravity drains for floors near or above the sewer invert, ejector pumps for below-floor sewer lines, and macerating units for finished or limited-access spaces.
- Proper placement under an upstairs bathroom or near the sewer exit reduces piping costs, while layout planning should include measuring clearances and mapping the shortest drain paths.
- Permits and electrical improvements, such as dedicated circuits and alarms, are mandatory and should be approved before demolition to avoid resale or insurance issues.
- Prior foundation leak repairs, vapor barriers, and moisture control prevent mold and structural damage, especially if flooding history exists, before finishing the space.
Table of Contents
- How Much Does It Cost to Add a Bathroom to a Basement?
- Gravity Drains, Ejector Pits, or Macerators: Which One Fits Your Basement?
- Where Should You Put the Basement Bathroom?
- What Permits and Electrical Work Does a Basement Bathroom Require?
- How Do You Prevent Moisture Problems Before You Finish the Space?
- What Materials Hold Up Best in a Basement Bathroom?
- What Should You DIY, and What Needs a Professional?
- How Can You Save Money Without Cutting Corners?
- Why We Push Inspection-First Every Time
- Ready to Get Your Basement Bathroom Started?
- Sources
- FAQ
How Much Does It Cost to Add a Bathroom to a Basement?
A half bath with an existing rough-in often costs significantly less, while a full bath cut into a slab with no prior plumbing generally costs substantially more. The gap between those two scenarios can be several thousands of dollars.
Component costs vary by what your basement already has:
- Plumbing rough-in (new, requiring slab work): $2,000 to $5,000
- Sewage ejector pump system: $600 to $1,500 for the unit and installation
- Macerating or up-flush unit: $800 to $2,500
- Permits: $300 to $800
- Framing, waterproofing, and finishes: highly variable based on materials chosen
Timeline follows a similar pattern. Planning and permits typically take one to four weeks depending on your jurisdiction, rough-in work runs 10 to 14 days, and finish work adds another three to six weeks. Once permits clear, a full basement bathroom project commonly wraps up in four to eight weeks. If a contractor quotes two weeks for a full retrofit with no rough-in, that’s a red flag, not a bargain.
Gravity Drains, Ejector Pits, or Macerators: Which One Fits Your Basement?
The drainage method you need depends almost entirely on elevation and whether a rough-in exists. Homes with a basement floor below the sewer line typically need an ejector pump or a macerating system, since gravity alone can’t move waste uphill to the main line.
Gravity drains work when your basement floor sits close to or above the sewer invert. This route requires breaking the slab to install conventional drain lines, which adds labor and mess but gives you a permanent, low-maintenance system with no moving parts to fail.
Sewage ejector pits collect waste in a basin and pump it up to the sewer line. A professionally installed ejector basin and pump typically runs $600 to $1,500 for the unit and installation, plus slab work if a pit needs to be dug. These systems need a dedicated electrical circuit, a high-water alarm, and generally last 10 to 15 years before the pump needs replacing.
Macerating or up-flush units grind waste and pump it through smaller pipes, avoiding slab cutting entirely. They typically cost $800 to $2,500 installed, but they run noisier and wear out faster than a full ejector system.
A useful rule of thumb: if the basement floor sits more than about 18 inches below the sewer invert, plan on a pump system rather than gravity. Below that threshold, gravity often stays on the table, especially if a rough-in already exists.
- Choose gravity when the floor is near or above the sewer invert and a rough-in already exists
- Choose an ejector pit for a full bathroom with heavy daily use and long-term reliability needs
- Choose a macerator when the basement is already finished and you want to avoid demolition
Where Should You Put the Basement Bathroom?
Placement decisions save or cost you thousands, and most of that comes down to distance from existing plumbing. Positioning the new bathroom under an upstairs bathroom or near the sewer exit point shortens pipe runs and reduces how much concrete needs cutting.
Here’s a short walkthrough to confirm what you’re working with before committing to a layout:
- Look for capped pipes sticking up from the slab. A 3-inch or 4-inch pipe usually indicates a toilet rough-in; a 2-inch pipe often points to a sink or shower drain.
- Measure clearances: most codes call for at least 15 inches from the toilet centerline to any wall or fixture, and 21 inches of clear space in front of it. A standard shower needs roughly 32 by 32 inches minimum.
- Map your sewer exit point and trace the shortest path from your planned fixture locations back to it.
- Locate the water heater and sump pump, since both affect where plumbing lines and electrical circuits can run.
- Sketch the layout with a tape measure before calling anyone for quotes, so you can ask informed questions.
If a shower is part of the plan and the slab hasn’t been poured yet, some builders leave a boxed-out section at pour time so the drain can be set to the exact finished pan dimensions later, avoiding a second round of jackhammering.
What Permits and Electrical Work Does a Basement Bathroom Require?
Most jurisdictions require separate building, plumbing, and electrical permits for a basement bathroom, and you’ll typically need to submit plans and pass both a rough-in inspection and a final inspection before the project is signed off.
If you’re installing an ejector pump or macerator, the electrical requirements aren’t optional extras:
- A dedicated circuit for the pump, separate from general basement outlets
- GFCI protection on any outlet near water sources, including the pump area
- A high-water alarm circuit, which protects against the kind of overflow that causes far larger losses than the small cost of installing it
- Adequate panel capacity to add these new loads without overloading existing circuits
Skipping permits to save time or money creates real risk at resale, since buyers’ inspectors flag unpermitted bathrooms routinely, and it can void insurance coverage if a leak or electrical fault causes damage later. A quick look at electrical service upgrades shows how panel capacity issues often surface once a new dedicated circuit enters the picture.
How Do You Prevent Moisture Problems Before You Finish the Space?
Check for existing foundation leaks or damp spots before you frame anything. Finishing over an unresolved moisture problem just hides it until it becomes a mold issue behind drywall.
- Fix any active foundation leaks first; framing over them guarantees a repeat problem later
- Install a vapor barrier behind walls and under flooring in the wet zone
- Use a proper tile membrane in the shower area, not just standard backer board
- Choose epoxy grout in wet zones since it resists moisture penetration far better than standard grout
- Size your exhaust fan for at least 50 CFM if the bathroom includes a shower, and vent it to the exterior, never into a joist cavity
- Add a humidity sensor to the fan so it runs automatically after showers, even if no one remembers to flip the switch
Pro Tip: If your basement has ever flooded, even briefly, get that fixed and dried out completely before you frame a single wall. A bathroom finish over a basement with a flooding history is asking for a callback within a year.
What Materials Hold Up Best in a Basement Bathroom?
Porcelain tile is the safer flooring choice for a basement bathroom because of its low water absorption, though luxury vinyl plank over a proper vapor barrier works well in drier basements and costs less to install.
- Porcelain tile for wet zones and anywhere moisture exposure is likely
- LVP over a vapor barrier for drier basements where budget matters more than maximum moisture resistance
- A cement board or foam shower backer with a full waterproofing membrane behind any tiled shower wall
- Epoxy grout in the shower and around the toilet base
- Compact, wall-mounted fixtures and recessed lighting to work around low basement ceilings
What Should You DIY, and What Needs a Professional?
Cosmetic work is fair game if you’re comfortable with it. Framing walls, laying tile, and painting are reasonable DIY tasks for an experienced homeowner with the right tools and patience.
Everything below the surface is a different story. Slab cutting, ejector pit installation, sewer line tie-ins, and new electrical circuits carry real consequences when they go wrong. Experts consistently warn that plumbing and electrical work in damp, below-grade spaces should go to professionals, since a bad connection can mean a sewage backup, a mold problem behind finished walls, or an electrical hazard near standing water.
- DIY-friendly: framing, tile setting, painting, trim work
- Professional-only: slab cutting, drain tie-ins, ejector pit wiring, dedicated circuits, code corrections
- Call Tri-County Services Electric & Plumbing at (440) 253-0332 before you cut into a slab or wire a pump circuit
How Can You Save Money Without Cutting Corners?
The single biggest savings move is timing. Rough in the plumbing during an existing foundation or renovation project rather than waiting, since retrofitting drains after the fact commonly costs thousands more than doing it during construction.
- Rough-in plumbing during any planned foundation or slab work, even if you’re not finishing the bathroom yet
- Choose mid-range fixtures and keep the footprint compact to shorten pipe runs
- Phase the project: rough-in now, finish walls and fixtures when budget allows
Why We Push Inspection-First Every Time
Homeowners often want to jump straight to picking tile and fixtures. That’s backwards. The inspection tells you which drainage route you’re actually working with, and that answer changes your entire budget before you spend a dollar on materials.
Service providers specializing in basement bathroom projects often find that the projects that go smoothly are those where drainage and electrical capacity are confirmed before demolition starts. Call (440) 253-0332 before you commit to a layout.
— Lindsay Paramore
Ready to Get Your Basement Bathroom Started?
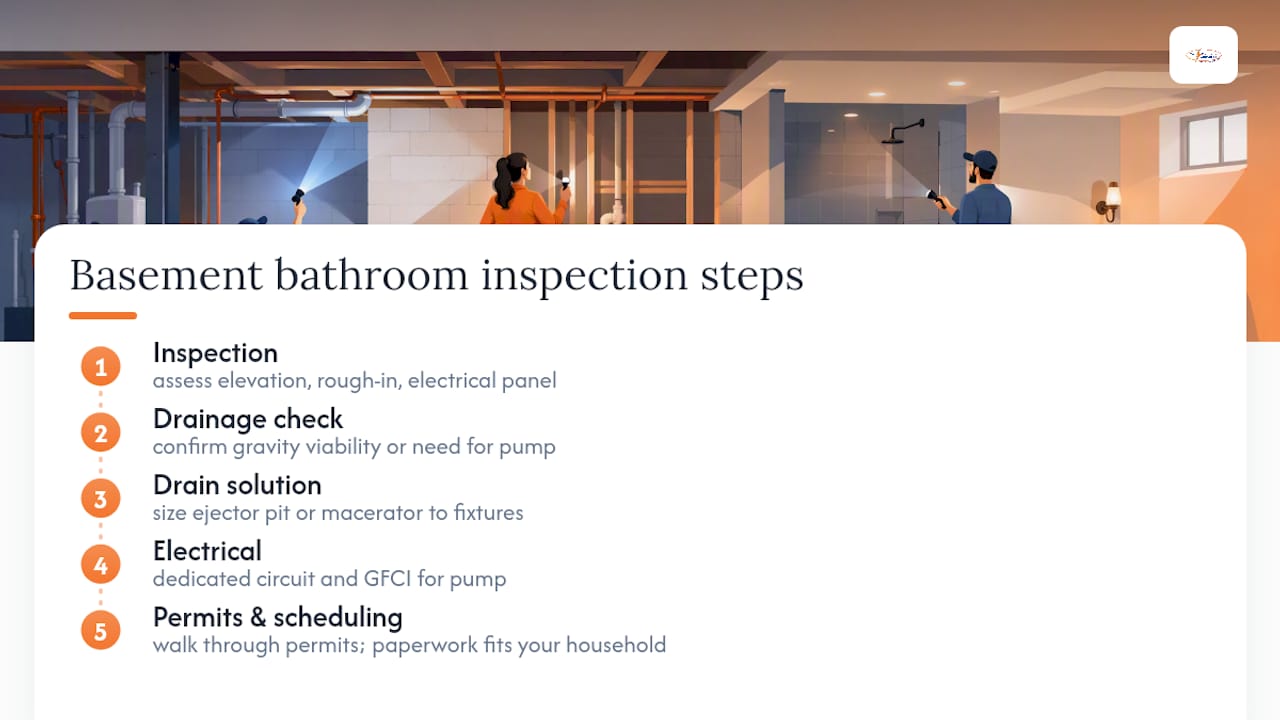
Skipping straight to fixture shopping is how homeowners end up with a beautiful bathroom sitting on top of the wrong drainage system. Professional services start differently: an inspection first, so you know exactly what your basement’s elevation, existing rough-in, and electrical panel can support before any demolition begins.

Visits cover the mechanical reality of your basement: confirming whether gravity drainage is viable, sizing an ejector pit or macerator system to your fixture count, wiring the dedicated circuit and GFCI protection a pump system requires, and walking you through the permit and inspection process so nothing gets flagged at resale. The paperwork and scheduling are handled around your household.
If you’re planning a basement bathroom and want real numbers instead of guesswork, check our plumbing pricing guide for a sense of what drain cleaning, sewer camera inspections, and fixture installation cost, then call (440) 253-0332 to schedule your inspection.
Sources
A few resources helped shape the cost and planning guidance above, and they’re worth a look if you want more detail on your specific situation:
- Adding a Bathroom to a Basement: Cost, Steps, and Timing
- How to Add a Bathroom to a Basement the Easy Way (DIY) | Family Handyman
- Basement Bathroom Guide: How to Add a Bathroom the Right Way (2026) | The Basement Guide
- Planning a Basement Bathroom Before You Build: Rough-In Plumbing and Layout
- Installing a basement bathroom
FAQ
What Is the Average Cost to Add a Bathroom to a Basement?
Cost depends heavily on whether a plumbing rough-in already exists. A half bath with a rough-in can cost as little as a few thousand dollars, while a full bath requiring slab work and a pump system often reaches several thousands of dollars once permits, fixtures, and finishes are included.
Can You Add a Bathroom to an Existing Basement?
Yes, in nearly every case, though the method depends on your basement’s elevation relative to the sewer line. Basements below the sewer invert typically need an ejector pump or macerating system, while those above it can use standard gravity drains.
Do I Need a Permit to Put a Bathroom in My Basement?
Yes, most jurisdictions require building, plumbing, and electrical permits, along with rough-in and final inspections. Skipping permits creates resale and insurance problems down the line, so it’s worth building permit time into your schedule from the start.
What Does a $10,000 Bathroom Remodel Look Like in a Basement?
At that budget, expect a full bathroom with a pump-based drainage system (ejector or macerator), mid-range fixtures, tile flooring in the wet zone, proper waterproofing, and the required electrical circuit and permits. It typically does not leave room for premium finishes or a layout that requires extensive slab cutting.
How Do I Know if My Basement Has a Rough-In Already?
Look for capped pipes protruding from the slab floor. A 3 inch or 4 inch capped pipe usually signals a toilet rough-in, while a 2 inch pipe often indicates a sink or shower drain, and a professional inspection can confirm what each one connects to before you finalize your layout.