

Most leaky faucet handle problems stop when you replace the worn O-ring or the internal cartridge behind it. Before touching a wrench, shut off the two supply valves under the sink, plug the drain, and run the faucet to see whether the leak happens only under pressure or even with the water off.
That single test tells you a lot:
- Leak only when running: likely a cartridge or O-ring problem inside the valve.
- Leak or seepage when off, or a wet spot under the handle at rest: also usually a cartridge or O-ring, sometimes packing.
- Water pooling at the base regardless of use: check mounting nuts and the base gasket before assuming it’s the handle.
A faucet dripping at one drip per second wastes more than 3,000 gallons a year, so a “small” drip is worth fixing now, not next month. If the handle trim feels brittle, a part won’t budge, or you can’t identify what’s inside, stop and call a professional rather than risk cracking the faucet body.
TL;DR:
- Replacing worn O-rings or cartridges usually fixes handle leaks, but proper identification of the faulty part is essential before disassembly.
- Conduct the paper towel test to pinpoint whether the leak originates from the hot, cold, or base area, guiding targeted repairs.
- Use the original part or a clear photo of it when shopping for replacements to avoid mismatched parts that can cause recurring leaks.
- For stuck or brittle components, stop and consider professional help to prevent damaging the faucet body or worsening the leak.
- Persistent leaks after repair often stem from incorrect part installation or unseen water damage, making professional assessment the safest choice.
Table of Contents
- What Causes a Leaky Faucet Handle?
- How Do You Diagnose a Faucet Handle Leak?
- Step-by-Step Faucet Handle Repair
- Fixing Leaks by Faucet Type
- Tools and Parts You’ll Need
- When Should You Call a Professional Instead?
- The Honest Take on DIY Faucet Repair
- Get Professional Help With a Stubborn Faucet Leak
- Key Takeaways
- Helpful Resources for Faucet Repairs
- Sources
- FAQ
What Causes a Leaky Faucet Handle?
Water seeping from around the handle almost always traces back to one of a handful of failure points, and figuring out which one saves you a wasted trip to the hardware store.
- Worn or compressed O-rings: rubber seals harden and shrink over years of hot water exposure, letting water creep past the stem and out around the handle base.
- A failing cartridge: this is the most common culprit on single-handle faucets, and worn cartridges or O-rings are the leading cause of leaks under the handle, often made worse by mineral deposits or debris that keep the seal from closing fully.
- Packing nut or stem-packing wear: older two-handle compression faucets rely on packing material around the stem, and that packing degrades with age and use.
- Scale and debris: hard water buildup can physically prevent an otherwise good seal from seating correctly, mimicking a worn part.
- Loose mounting or supply nuts: sometimes what looks like a handle leak is actually water traveling down from a loose connection above and pooling near the base.
A faucet leaking at the base often points to the same worn seals, just seen from a different angle.
How Do You Diagnose a Faucet Handle Leak?
Work through this before disassembling anything.
- Dry the faucet completely and place a paper towel around the base of the handle and the spout. Run the water on hot, then cold, and check which towel gets wet first. This isolates which side (hot or cold valve) is the source.
- Shut off the hot and cold supply valves under the sink, then open the faucet to relieve pressure and drain remaining water.
- With the handle still on, try snugging the packing nut or bonnet a quarter turn using an adjustable wrench. On some fixtures this alone stops a minor seep. Do not crank it hard.
- Turn the water back on briefly and retest. If the drip is gone, you’re done. If not, move to full disassembly and inspect the O-ring and cartridge.
- Never force a stuck handle or cartridge. Heavy resistance usually means corrosion or a proprietary retaining clip you haven’t found yet, not a part that just needs more muscle.
Pro Tip: Wrap the jaws of your pliers or wrench with a cloth or a few layers of tape before working near chrome or brushed-nickel trim. One slip with bare metal jaws leaves a permanent scratch you’ll see every time you wash your hands.
Protecting the finish matters as much as fixing the leak. A five-minute repair turns into a $200 faceplate replacement if you scar the trim getting the handle off.
Step-by-Step Faucet Handle Repair
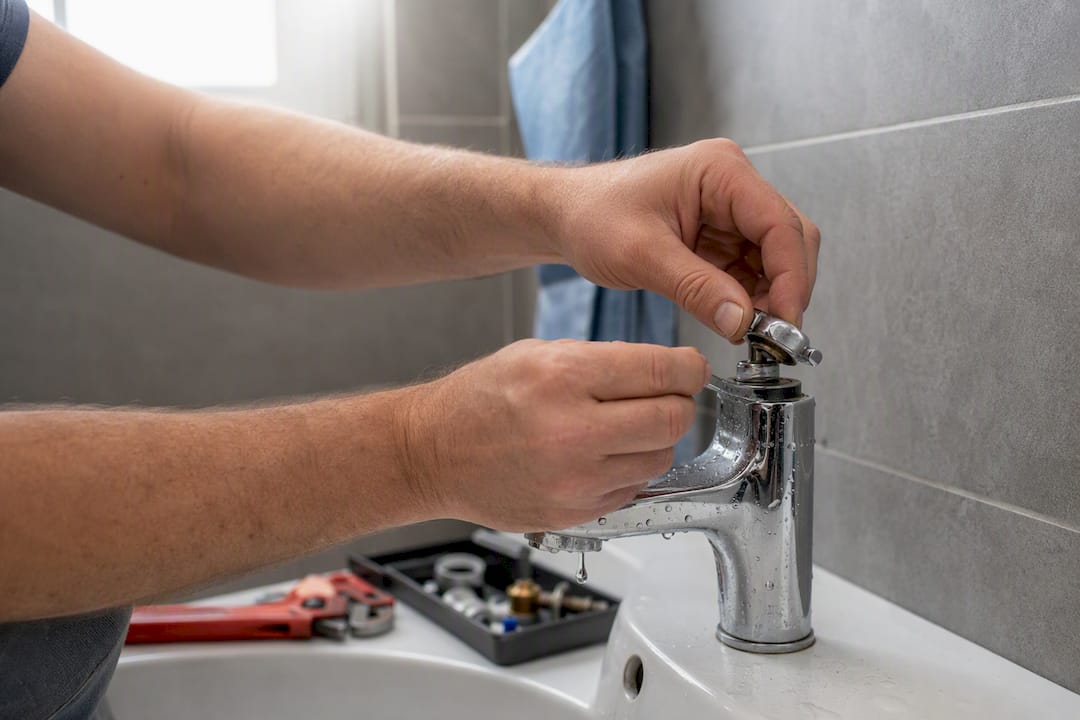
Once you’ve confirmed the leak isn’t a quick tightening fix, here’s the repair sequence that resolves most single-handle leaks.
Gather these first: a hex key set, adjustable wrench, slip-joint pliers, a drain plug or rag to cover the drain, silicone plumber’s grease, and the correct replacement O-ring kit or cartridge for your faucet model.
- Shut off both supply valves and open the faucet fully to drain remaining pressure and water.
- Cover the drain so no small parts disappear down it.
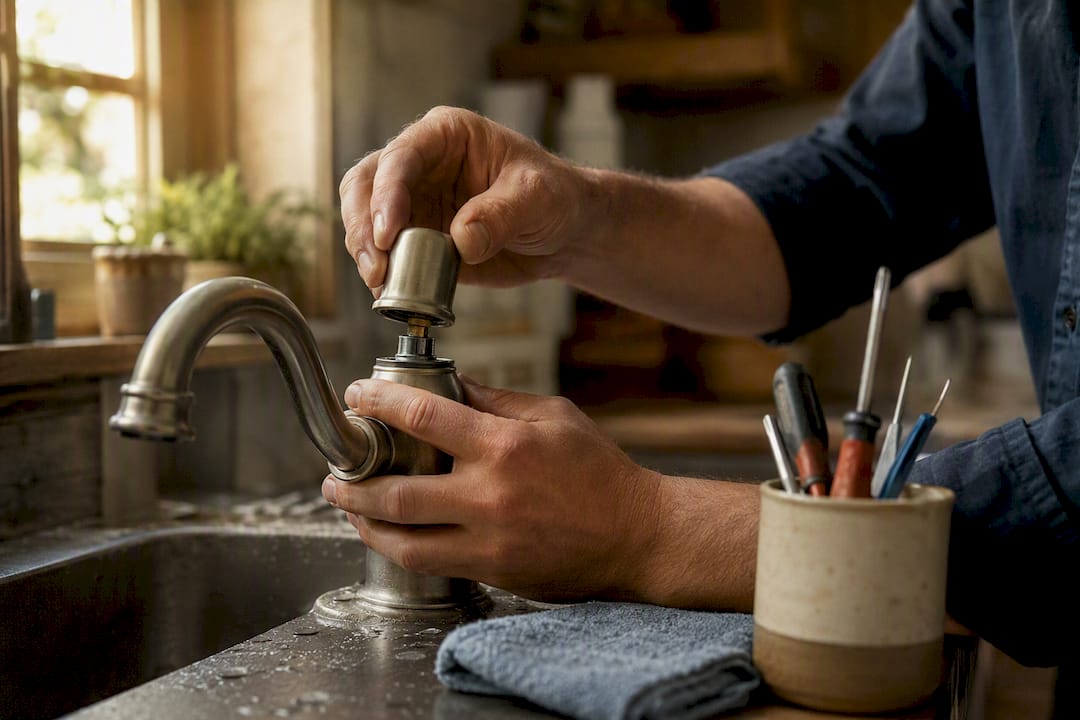
- Pry off the decorative cap on the handle (a small flathead screwdriver usually does it) and remove the exposed screw.
- Lift the handle straight off.
- Remove the retaining clip or nut holding the cartridge or stem in place.
- Pull the cartridge or stem straight out. If it resists, a cartridge puller tool helps; never twist or pry aggressively against the faucet body.
- Inspect the O-rings, the cartridge itself, and the seat it sits in for scale, cracking, or grooves.
- Replace the O-rings or the full cartridge, coating new O-rings lightly with silicone grease before reinstalling.
- Reassemble in reverse order and turn the supply valves back on slowly while watching for leaks.
This general sequence, outlined in municipal repair guidance and echoed by step-by-step trade instructions, applies across most cartridge-style faucets. If you spot brittle plastic, heavy green or white corrosion, or a part that clearly doesn’t match what you removed, that’s your signal to stop and call in help rather than force a mismatched piece into place.
Fixing Leaks by Faucet Type
Not every faucet handle comes apart the same way, and using the wrong repair approach wastes time.
- Cartridge faucets: replace the cartridge or its O-rings, paying close attention to orientation. Cartridges seat in only one direction, and installing one backward causes hot and cold to reverse or the handle to leak immediately.
- Ball faucets: these rely on small seats and springs beneath the ball assembly. Replace both together, and check the cam, packing, and adjusting ring while you’re in there.
- Ceramic disc faucets: look at the inlet seals first. If the ceramic cylinder itself is cracked or heavily scaled, flushing debris and replacing the internal disc assembly is usually the fix, not just the seals.
- Compression (two-handle) faucets: the seat washer at the bottom of the stem wears out from repeated turning. Replace the washer and check the packing nut for wear at the same time.
Tools and Parts You’ll Need
Having the right kit on hand before you start prevents a repair from stalling halfway through.
- Hex key (Allen) set, plus flathead and Phillips screwdrivers
- Slip-joint pliers and an adjustable wrench
- A basin wrench for tight under-sink spaces
- A drain plug or rag to cover the drain
- Silicone plumber’s grease for O-rings and seals
- Replacement O-ring kit, cartridge, or seats-and-springs kit matched to your faucet brand
The buying tip that saves the most time: remove the old cartridge or O-ring and bring it with you, or take a clear photo, when shopping for a replacement. Cartridges are often proprietary and visually similar across brands, so matching by memory or a rough online search leads to returns and repeat trips. Basic O-ring kits run inexpensive at most hardware stores; brand-specific cartridges cost more and are best sourced from a plumbing supply house or the manufacturer directly.
When Should You Call a Professional Instead?
Some leaky faucet handle repairs are a fifteen-minute fix. Others turn into a cracked faucet body or a flooded cabinet if you push past your comfort level. Watch for these warning signs:
- Trim or plastic components feel brittle or crack when you apply light pressure.
- A cartridge is seized and won’t budge with a puller tool, risking damage to the faucet body if you force it.
- The leak continues after you’ve already replaced the O-ring or cartridge.
- You see water staining, swelling, or mold on the cabinet floor or wall behind the sink.
- The supply shutoff valves themselves are corroded, seized, or missing.
Manufacturer guidance consistently warns against forcing stuck parts or overtightening nuts, and that warning exists because a cracked faucet body usually means full replacement instead of a $10 part. A professional brings exact OEM part sourcing, the torque discipline to avoid cracking bonnets or fittings, and the experience to spot water damage you might miss.
Pro Tip: If you’ve already replaced a part once and the drip came back within days, don’t reach for a bigger wrench. That’s usually a sign of a mismatched part or a seat issue you can’t see, and it’s exactly the kind of problem that benefits from a second set of trained eyes.
Tri-County Services Electric & Plumbing can assess and repair persistent handle leaks. Call (440) 253-0332 or visit our plumbing leak detection and repair page to schedule.
The Honest Take on DIY Faucet Repair
Most guides treat every faucet leak like a weekend project anyone can knock out with a YouTube video and a trip to the hardware store. That advice is fine right up until it isn’t. The part that actually trips people up isn’t the wrench work. It’s part identification. Cartridges look nearly identical across brands and even across product lines from the same manufacturer, and guessing wrong means a second trip, a returned part, and a faucet sitting disassembled on your counter for another day.
The conventional wisdom also underplays how easy it is to crack a plastic bonnet or strip a proprietary retaining clip with the wrong amount of force. There’s no dial that tells you when “snug” becomes “too much.” You find out when something breaks.
My honest read: try the low-risk diagnostic steps first. Isolate the leak, snug the packing nut, check for the obvious stuff. But the moment you hit resistance you can’t explain, or you’re not sure the part in your hand matches what’s inside the faucet, that’s the moment to stop. That instinct saves more money than any repair guide.
— Lindsay Paramore
Get Professional Help With a Stubborn Faucet Leak
Some faucet leaks are a straightforward O-ring swap. Others involve a seized cartridge, a cracked bonnet, or a mismatched part you can’t identify no matter how many photos you take to the store. That’s where Tri-County Services Electric & Plumbing saves you the second and third trip: we identify the exact part on the first visit and install it without gambling on your faucet body.

Tri-County Services Electric & Plumbing has been serving Northeast Ohio homes since 1975, and we now offer full plumbing services alongside our electrical work, including faucet leak repair, part sourcing, and general plumbing upgrades. Our technicians carry the tools and part knowledge to fix a stuck cartridge or worn packing nut without cracking your faucet, and every job protects your fixture’s warranty by using proper torque and manufacturer-correct parts. If you’re staring at a stuck handle, visible water damage, or you just don’t have the afternoon to spare, a service call is the sensible move. Call (440) 253-0332 or visit our plumbing leak detection and repair page to schedule a visit and stop the leak for good.
Key Takeaways
Most leaky faucet handle repairs succeed once you correctly identify the worn O-ring or failing cartridge and replace it with the exact matching part.
| Point | Details |
|---|---|
| Shut off supply first | Turn off both hot and cold valves under the sink before touching the handle. |
| Diagnose before disassembling | Use the paper-towel test to confirm whether the leak is hot, cold, or base-related. |
| Match the cause to the fix | Cartridges, O-rings, seats and springs, and packing nuts each need a different repair path. |
| Bring the old part shopping | Matching cartridges by memory often leads to wrong parts and repeat store trips. |
| Stop at brittle or stuck parts | Forcing a seized cartridge or over-tightening a nut risks cracking the faucet body. |
| Call Tri-County when stuck | Tri-County Services Electric & Plumbing identifies and replaces faucet parts without risking fixture damage; call (440) 253-0332. |
Helpful Resources for Faucet Repairs
Confirm parts and water-waste impact through these sources before you buy anything.
- EPA WaterSense Fix a Leak guidance for water-waste facts.
- Kohler’s leaking-under-the-handle troubleshooting and Moen’s handle-leak solutions for brand-specific parts diagrams.
- Henson Mechanical’s faucet repair services for additional professional repair context.
- Tri-County’s kitchen plumbing maintenance tips for preventing future leaks.
Sources
- Fix a Leak Week — EPA WaterSense
- Leaking Under the Handle | Bathroom Faucets — Kohler Assist
- How to repair a kitchen faucet — Family Handyman
- Portland
FAQ
Why Is Water Leaking Out of My Faucet Handle?
Water around the handle almost always comes from a worn O-ring or a failing cartridge that no longer seals properly, sometimes made worse by mineral deposits or debris caught inside the valve.
What’s the Most Common Cause of a Leaky Two-Handle Faucet?
On older two-handle faucets, worn packing around the stem or a deteriorated seat washer is the usual culprit, since these compression-style valves rely on rubber and packing that break down with repeated turning.
How Do I Make My Faucet Stop Dripping?
Shut off the supply valves, remove the handle, and inspect the O-ring and cartridge. Replacing whichever part is worn, using the exact matching replacement, stops most drips; if parts are stuck or you’re unsure of the fit, Tri-County Services Electric & Plumbing can identify and install the correct part.
Why Is My Faucet Dripping After I Replaced It?
A repeat drip after replacing a part usually means the wrong cartridge or O-ring size was installed, a seat wasn’t cleaned of scale before reassembly, or a second worn component (like a seat washer) was missed during the repair.