

Most dripping outdoor spigots come down to worn packing around the handle or a worn washer inside the spout, and both are fixable without special training. Before you touch anything, shut off the water supply to that line and disconnect any hose still attached. If the leak comes from inside the wall, the pipe looks corroded, or the connection is soldered copper, stop and call a professional instead of opening it up further.
TL;DR:
- Most outdoor spigot leaks are caused by worn packing material or a damaged rubber washer, which are simple to replace without special tools.
- Tightening the packing nut a quarter turn often stops handle leaks, but water collecting elsewhere indicates the need for further repair or professional help.
- Repairing threaded connections is straightforward, while soldered or PEX connections require advanced skills or a professional plumber.
- Always shut off the water and drain the line before attempting repairs, and consider winterizing by fully draining and properly installing frost-free spigots to prevent freezing damage.
- Call a professional if the leak involves corroded or soldered pipe, or if water shows up inside walls, to avoid complex damage or flooding.
Table of Contents
- How Do I Diagnose a Leaking Outdoor Spigot?
- How Do You Fix a Leaking Outdoor Spigot Step by Step?
- Does the Connection Type Change the Repair?
- What Tools and Parts Do You Need, and What Will It Cost?
- How Do You Winterize an Outdoor Spigot Safely?
- When Should You Call a Professional Instead?
- Let Tri-County Services Electric & Plumbing Handle the Hard Part
- Sources
- FAQ
How Do I Diagnose a Leaking Outdoor Spigot?
The fix depends entirely on where the water is actually coming from, and most homeowners skip this step and end up replacing the wrong part. Start by disconnecting the hose completely. A surprising number of “leaking spigot” calls turn out to be a worn hose washer or a stripped hose connection, not the spigot at all.
With the hose off, turn the spigot handle to the open position and watch closely for a few seconds:
- Water seeping around the handle stem while the spigot is on points to worn packing material or a loose packing nut.
- Water dripping from the spout after you’ve turned the handle off means the rubber washer or valve seat inside has worn out.
- A steady stream or spray from the pipe itself, especially behind the exterior wall, suggests a cracked body or a failed interior joint. That’s a stop-and-call situation.
- Water pooling at the base or wall penetration even when the spigot is fully closed often means the mounting flange has failed, not the valve mechanism.
Most outdoor faucet leaks fall into one of the first two categories: a problem at the handle/packing or a problem at the spout/washer. This Old House notes that tightening the packing nut, sometimes called the bonnet nut, is the fastest and lowest-risk first move when the leak is around the handle.
Pro Tip: Before assuming the worst, hand-tighten the packing nut a quarter turn with an adjustable wrench, reconnect the hose, and run the spigot for a minute. This alone solves a meaningful share of handle leaks and costs nothing.
If tightening doesn’t stop it, or if you notice water appearing anywhere other than at the handle or spout, that’s your signal to move to a full repair, or to call in help if the water is showing up inside a wall cavity you can’t access.
How Do You Fix a Leaking Outdoor Spigot Step by Step?
Once you’ve confirmed the leak is at the packing or the washer, and you’ve confirmed the connection is a standard threaded fitting you can safely access, here’s the order of operations.
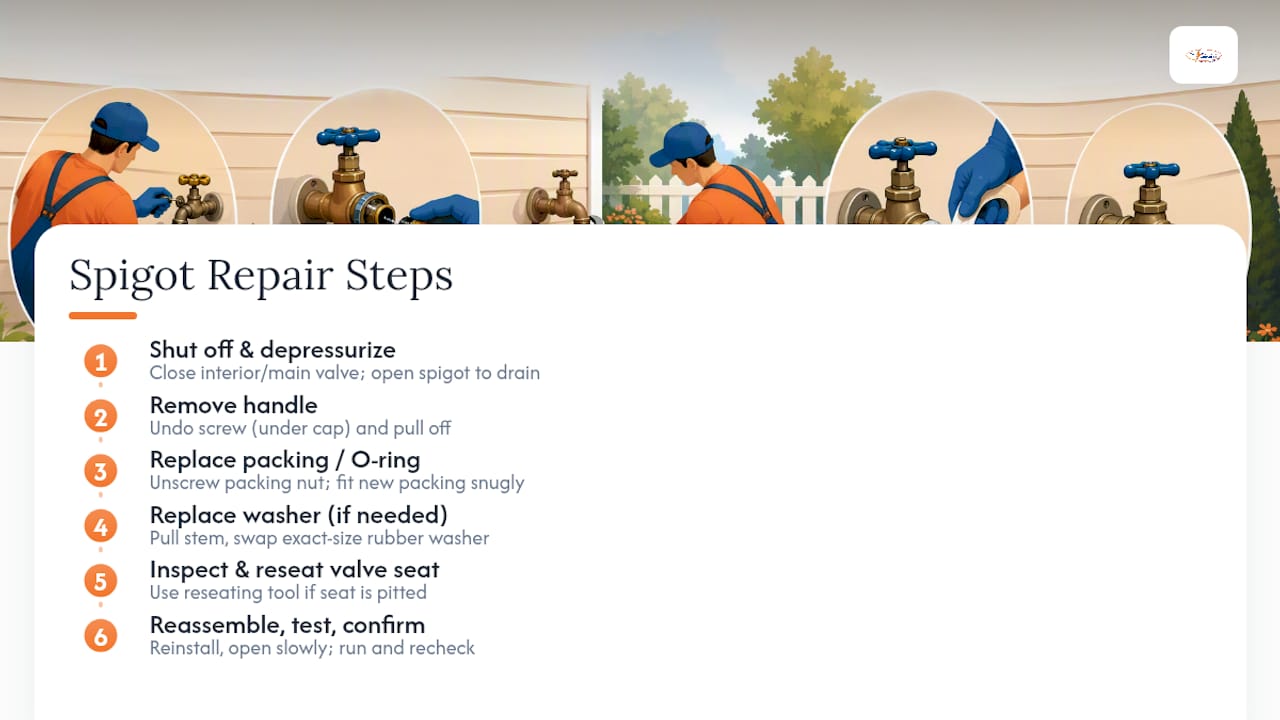
1. Shut off the water and depressurize the line. Find the interior shutoff valve for that spigot, or the main shutoff if there’s no dedicated valve, and close it fully. Open the spigot outside afterward to drain any remaining water and relieve pressure in the line. Skipping this step is the single most common reason a “simple” repair turns into a wet floor.
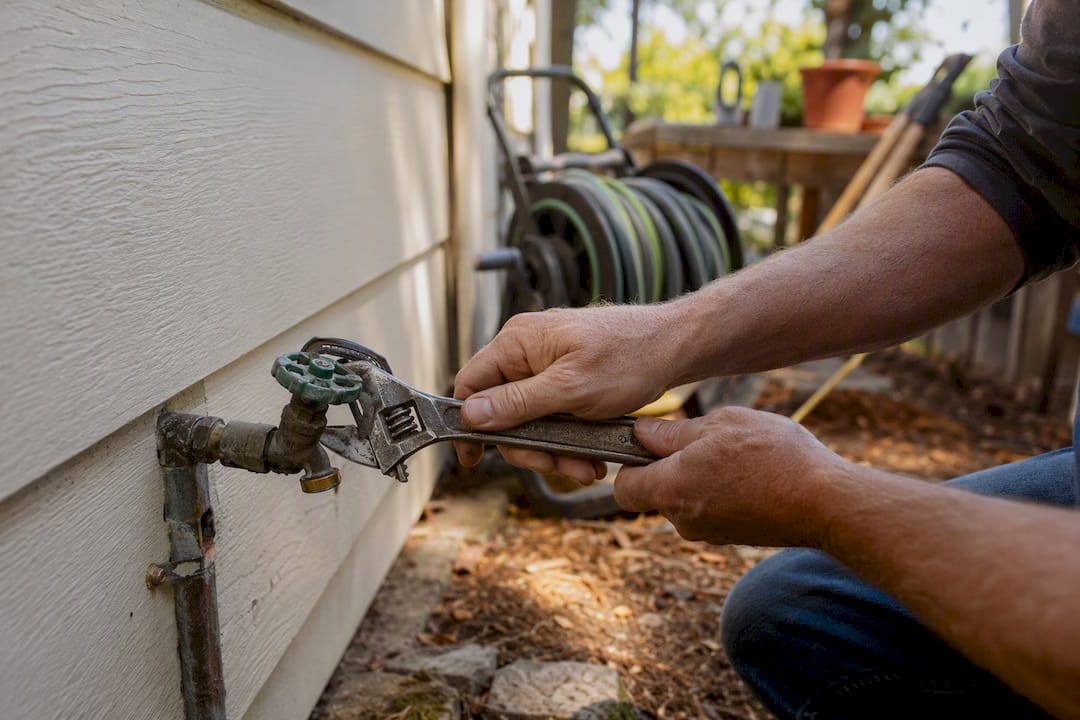
2. Remove the handle. Most handles are held by a single screw, sometimes hidden under a decorative cap. Back it out with a screwdriver and pull the handle straight off.
3. For a packing/stem leak, replace the packing. Unscrew the packing nut (the hexagonal nut just behind where the handle was) with an adjustable wrench. Pull out the old packing material or O-ring, which usually looks like a flattened rubber washer or braided cord. Wrap new packing around the stem or seat a new O-ring in its groove, then thread the packing nut back on snugly, not overtightened. This Old House recommends this as the go-to fix when a simple tightening doesn’t hold.
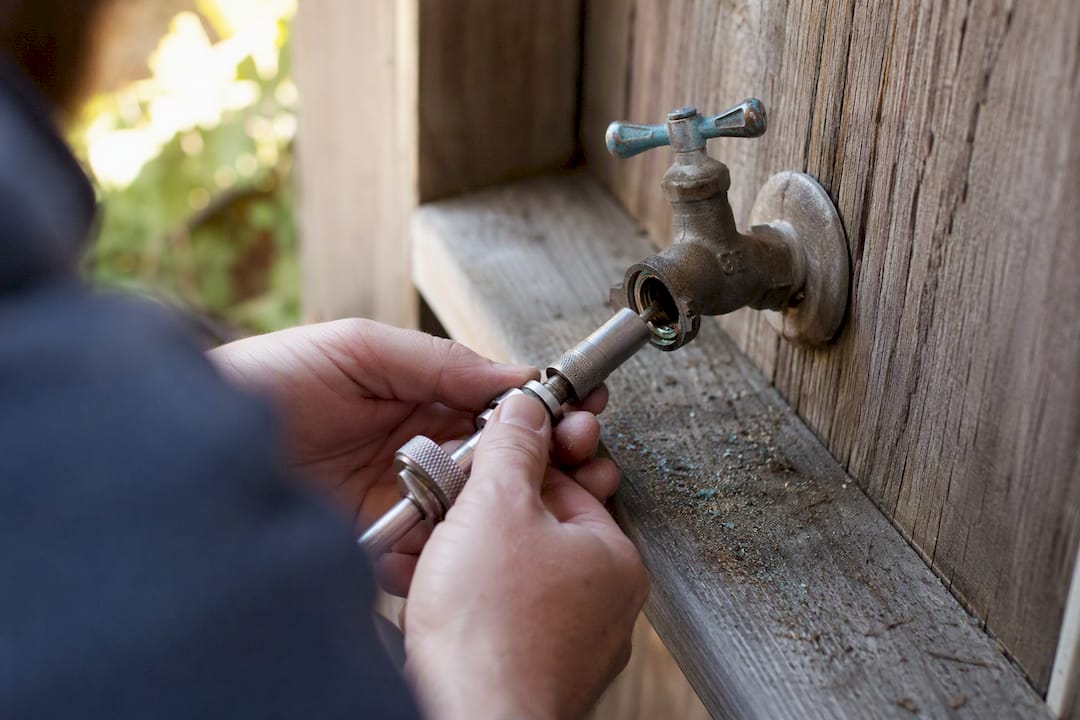
4. For a spout/washer leak, pull the stem. Continue unscrewing past the packing nut until the entire stem assembly lifts out of the spigot body. At the bottom you’ll find a small rubber washer held by a brass screw. Remove the screw, swap in a washer that matches the original size exactly, and reattach it. A washer that’s even slightly too large or small will re-leak within weeks.
5. Inspect the valve seat. This is the metal ring inside the spigot body that the washer presses against when closed. If it looks pitted, scored, or corroded, a worn seat is why leaks keep coming back even after washer replacement. A reseating tool, sold at most hardware stores, lets you resurface the seat in place. Insert it, turn gently until it cuts a fresh, even seating surface, and clear away metal shavings before reassembly. Go slow here. Over-cutting a seat can ruin the spigot body entirely, and at that point replacement is your only option.
6. Reassemble and test in stages. Thread the stem assembly back in, tighten the packing nut, reattach the handle, and slowly reopen the interior shutoff valve. Open partway first and watch the joint at the packing nut and the spout for any weeping before opening fully.
7. Confirm the fix over time, not just the first minute. Run water for a full minute, shut it off, and check again after five minutes. A slow drip that shows up only after the spigot sits closed for a while often means the washer still isn’t seating correctly.
One detail trade blogs on hose bib repair consistently flag: whenever you’re loosening a threaded fitting connected to interior plumbing, use a backup wrench on the pipe behind the wall so you’re not twisting a joint you can’t see. That single habit prevents a huge share of “I fixed the spigot and now there’s a leak inside the wall” calls.
Does the Connection Type Change the Repair?
Yes, and this is where a lot of confident DIY attempts run into trouble. Before you buy a single part, look at how the spigot actually connects to your home’s plumbing, because that determines whether this is a twenty-minute job or one that needs a professional.
- Threaded connections are the most DIY-friendly. The spigot screws directly onto a threaded pipe or adapter, and you can usually spot visible threads where the two pieces meet.
- Sweat (soldered) connections join copper pipe to the spigot with melted solder, and there’s no threading visible at the joint. Replacing one of these means cutting the old joint and either soldering a new connection or using a specialized push-fit connector, which is meaningfully higher-skill work than a threaded swap.
- PEX connections use flexible plastic tubing secured with crimp or expansion fittings, and reconnecting one correctly requires the matching crimp tool and fittings for your specific PEX type.
- Press connections rely on a specialized press tool to permanently seal a fitting onto copper or stainless pipe, and without that exact tool, there’s no reliable way to make or remake the joint yourself.
Misjudging which type you’re dealing with is one of the most common DIY pitfalls here. Assuming a connection is threaded when it’s actually sweat leads to a lot of wasted trips to the hardware store and, occasionally, a cut pipe with no easy way to close it back up.
If you do have a straightforward threaded hose bib to swap out, the general sequence is: shut off the water, use a backup wrench on the interior fitting while you unscrew the old spigot, clean the threads, apply Teflon tape or pipe dope, hand thread the new spigot on before tightening with a wrench, install a vacuum breaker if it doesn’t already have one, and seal around the exterior escutcheon. Leave the bottom edge of that seal unsealed so any moisture that gets behind it can drain out. A trapped pocket of water behind a fully sealed flange is a classic cause of freeze damage the following winter.
What Tools and Parts Do You Need, and What Will It Cost?
You can handle most packing and washer repairs with tools already in a basic toolbox:
- Adjustable wrench and a second wrench for backup support
- Flathead and Phillips screwdrivers
- Replacement packing material or O-rings, sized to match the original
- Rubber washers in the correct diameter, plus the small brass screw that holds them
- A valve-seat reseating tool, if the seat shows wear
- Teflon tape or pipe dope, and a new vacuum breaker if replacing the whole unit
Parts for a packing or washer repair typically run a modest cost at hardware stores, and a full frost-free hose bib replacement varies in price depending on the model. Bring the old washer or spigot with you when shopping, since sizes vary by manufacturer and a mismatched part will leak again almost immediately. If the diagnosis points to a sweat or PEX connection, budget for a professional service call instead of parts. The labor and risk involved in cutting into interior plumbing usually outweighs any savings from attempting it yourself.
How Do You Winterize an Outdoor Spigot Safely?
Before cold weather hits, disconnect and drain every hose, then open the spigot briefly to let residual water run out. If you have a standard spigot rather than a frost-free model, locate the interior stop-and-waste valve for that line, close it, and open the outdoor spigot to drain the section between the valve and the spout completely.
Frost-free sillcocks are designed to resist freezing, but only under specific conditions. The shutoff point for these units needs to sit inside heated space, angled slightly downward so residual water drains out by gravity rather than sitting in the pipe. Installed at the wrong angle, or with the shutoff sitting in an unheated crawlspace, a frost-free spigot can still freeze and split.
Always confirm the water supply is fully off, using both the valve and a quick test at the spigot, before disassembling anything. If outlets or wiring run near your work area, treat that as a reason to be extra cautious rather than a reason to rush.
Pro Tip: If you’ve never located your home’s main shutoff or the specific valve feeding your outdoor spigot, do that now, in good weather, before you have an actual leak forcing your hand.
For more on protecting your plumbing through the colder months, see our guide on protecting your home from frozen pipes. Sealing drafts around exterior penetrations matters too, and tips on winterizing doors and other exterior openings apply the same logic to keeping cold air away from vulnerable pipe runs.
When Should You Call a Professional Instead?
A packing swap or washer replacement on a standard threaded spigot is genuinely within reach for most homeowners. What isn’t: cutting into a sweat-soldered joint, working around corroded galvanized pipe, or chasing a leak that’s already showing up inside a wall. Those situations carry real risk of flooding a wall cavity or damaging pipe you can’t easily access, and the cost of a failed DIY attempt almost always exceeds the cost of a service call. Tri-County Services Electric & Plumbing has worked on homes throughout Northeast Ohio’s freeze-thaw climate since 1975. The pattern holds: if the inlet connection is soldered, the pipe looks corroded, or you can’t find an interior shutoff, that’s the point to stop and call in a professional rather than keep opening things up.
— Lindsay Paramore
Let Tri-County Services Electric & Plumbing Handle the Hard Part
When a spigot repair turns out to need soldering, a corroded interior connection, or a full frost-free sillcock install, Tri-County Services Electric & Plumbing gives Northeast Ohio homeowners a faster, lower-risk path than tearing into wall-adjacent plumbing on your own. Our technicians handle outdoor spigot repair and replacement, including frost-free sillcock upgrades and winterization, with safety-first inspections and a scheduling window built around your day rather than ours.

We’ve recently expanded into full plumbing services alongside our electrical work, and outdoor spigot and leak repair are part of that. If you’re staring at a spigot with water showing up somewhere it shouldn’t, our leak detection and plumbing repair team can trace the exact source and fix it right the first time. Call (440) 253-0332 to schedule a visit, or reach out through our site to check availability in your area.
Sources
- How to fix a leaky hose spigot — This Old House
- How to replace a standard hose bib — SupplyHouse
- Model T-550 quarter turn anti-siphon frost-free sillcock installation instructions
- How to replace a hose bib — Reliant Plumbing
FAQ
How much does it cost to fix a leaky outdoor spigot?
Parts for a packing or washer repair typically cost just a few dollars at a hardware store, while a full spigot replacement or professional service call runs higher depending on the connection type and whether soldering is involved.
Do you need a professional to replace an outdoor spigot?
Not always. A threaded spigot swap is usually manageable yourself, but sweat-soldered connections, corroded pipe, or leaks inside a wall call for a professional to avoid flooding or damaging plumbing you can’t easily access.
Why is my outdoor faucet still dripping even after I turned it off?
A drip after shutoff almost always means the rubber washer or valve seat inside the spout has worn out and needs replacement, since a good washer should seal completely against the seat when closed.
How do you replace the rubber washer in an outside faucet?
Shut off the water, remove the handle and packing nut, pull out the entire stem assembly, remove the small brass screw holding the old washer, and install a new washer of the exact same size before reassembling.