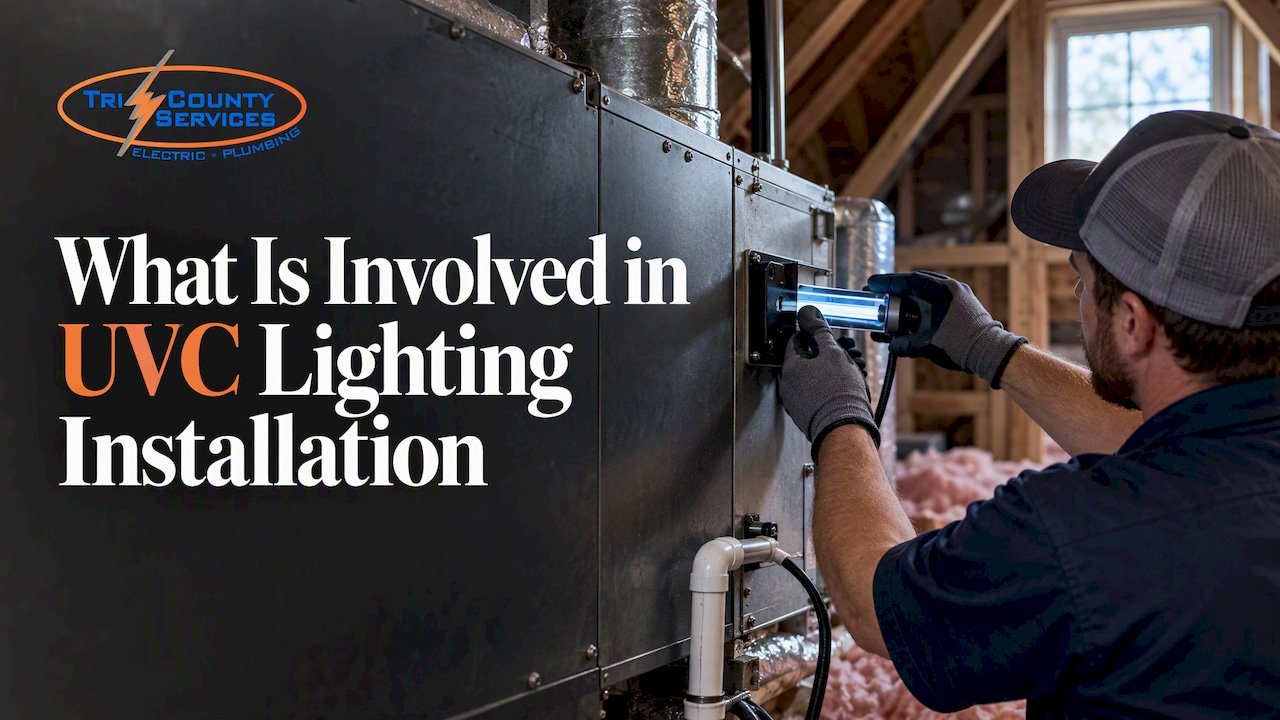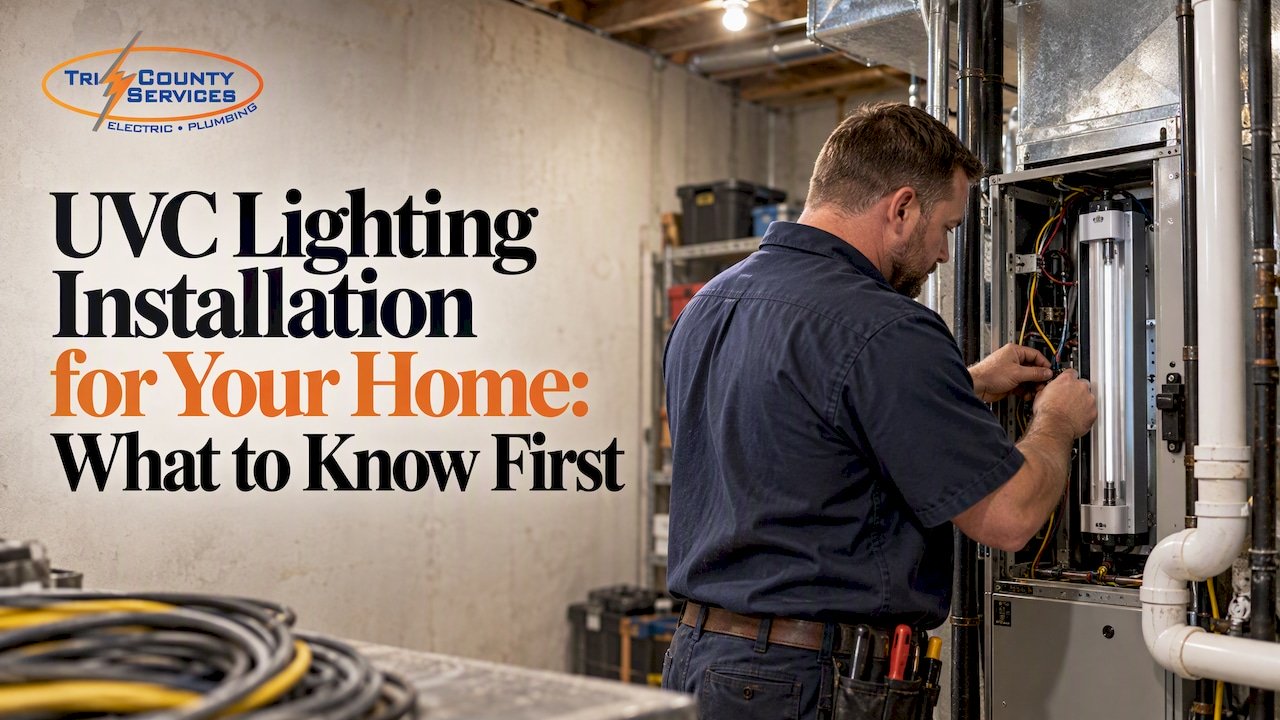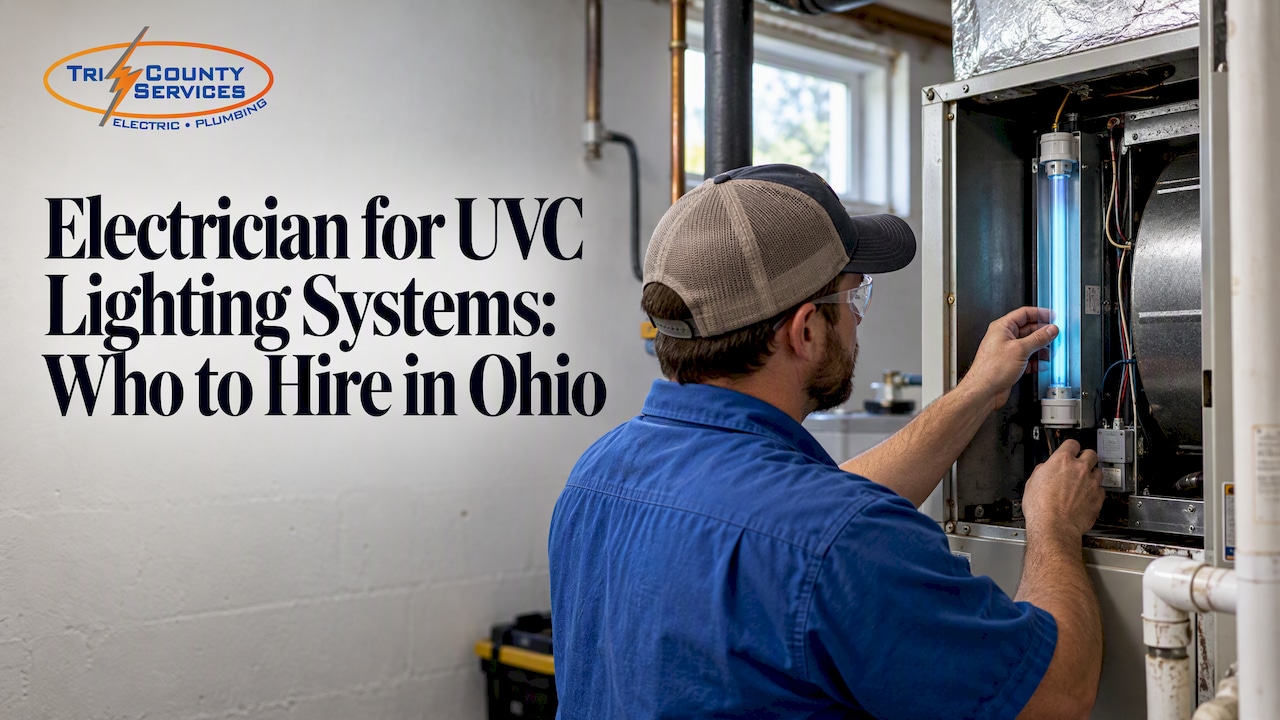


A UV-C lighting installation puts a germicidal lamp inside your heating and cooling system, usually at the indoor coil or in the supply duct, and wires it to low-voltage power with a safety interlock. The job combines sheet-metal work, electrical work and a careful look at what the light will shine on. Done right, it takes a few hours. Done wrong, it can burn eyes, ruin plastic parts inside your furnace and still not clean your air. At Tri-County Services Electric & Plumbing, we’d rather you know exactly what the work involves before anyone cuts into your ductwork. If you have questions about your own system, call our office at (440) 253-0332.
TL;DR
- A UV-C install means choosing a lamp location, cutting a mounting opening in the air handler or duct, mounting the fixture, powering it and testing the safety interlock.
- The lamp can injure eyes and skin within seconds, and it damages plastic and wire insulation in its line of sight, so this is professional work, not a weekend project.
- Professional residential installs typically run $350 to $1,550, depending on system size, wiring complexity and lamp type.
- UV-C supplements good filtration and maintenance. It does not replace them.
- Call (440) 253-0332 and we’ll talk through whether UV-C makes sense for your home.
Table of Contents
- What a UV-C light does inside your HVAC system
- The installation, step by step
- What UV-C installation costs
- Why this isn’t a DIY job
- Our perspective: wiring and safety come first
- Does UV-C replace your filter?
- Planning your project
- Talk to Tri-County Services Electric & Plumbing
- FAQ
- Sources
What a UV-C light does inside your HVAC system
UV-C is the short-wave band of ultraviolet light, roughly 100 to 280 nanometers. The EPA’s technical summary explains that this band is the germicidal one, able to alter the DNA of microorganisms, while UV-A does not have the same effect. So when a product says only “UV light,” ask which wavelength it produces. That one detail separates a germicidal lamp from a decorative one.
The CDC’s NIOSH describes germicidal ultraviolet as technology that, when designed and installed correctly, uses UV energy to inactivate microorganisms, including viruses. It also calls it a supplemental measure. That framing matters for every decision below.
In a home, there are two common layouts:
- Coil lamp: mounted near the evaporator coil and drain pan, where moisture lets mold and bacteria build up.
- Air-stream lamp: mounted in the supply or return duct to treat air as it passes.
Which one fits depends on your equipment, the space around the coil and what you’re trying to fix, whether that’s musty odors, mold on the coil or general air quality.
The installation, step by step
Here is what happens on a typical job. Every home differs, and the manufacturer’s instructions for the specific lamp always govern.
1. Assessment and planning
Before any tool comes out, the technician looks at the air handler or furnace cabinet, the coil, the drain pan and the ductwork. They check:
- Where the lamp can sit with clearance from the coil. One guide suggests six to twelve inches from the coil and drain pan, but the lamp maker’s spec is the one to follow.
- What materials are in the lamp’s line of sight: plastic drain pans, flexible duct liners, wire insulation.
- Whether the system has a 24-volt transformer with spare capacity to power the lamp.
- Whether there’s a safe, accessible place to reach the lamp for future replacement.
This is also where the system’s airflow matters. The NIOSH page notes that a well-designed system accounts for dosage, which depends on factors like airflow and the target microorganisms. A lamp dropped in at random is not a designed system.
2. Shutting down power
The HVAC system is turned off at the thermostat and at the disconnect or breaker before the cabinet is opened. Because the work involves live wiring, this step is non-negotiable. It’s also where homeowners get hurt: furnaces and air handlers carry line voltage even when the thermostat is off.
3. Cutting the mounting opening
Most lamps mount through a round opening cut into the metal duct or cabinet. Published guides describe this as roughly a 1.5- to 2-inch hole, though the template supplied with your lamp sets the real size. Cutting sheet metal near a coil risks puncturing refrigerant lines, damaging the coil fins or leaving metal shavings that circulate through the system. A professional knows what’s behind the panel before cutting.
4. Mounting the base and seating the lamp
The mounting plate is fastened and sealed so conditioned air doesn’t leak out around it. The lamp is then inserted. Manufacturer guidance says to handle lamps with clean gloves, because skin oils reduce output and can etch the glass once the lamp is powered. The same manual states the installer must be a trained, experienced service technician.
5. Shielding materials in the line of sight
UV-C degrades organic materials. Plastic drain pans, wire insulation and flexible duct liners are all vulnerable. Industry guidance recommends shielding them with foil tape or sheet metal if they’re exposed to the bulb, because damage can become permanent within about three years. This step is easy to miss and expensive to ignore.
6. Wiring and power
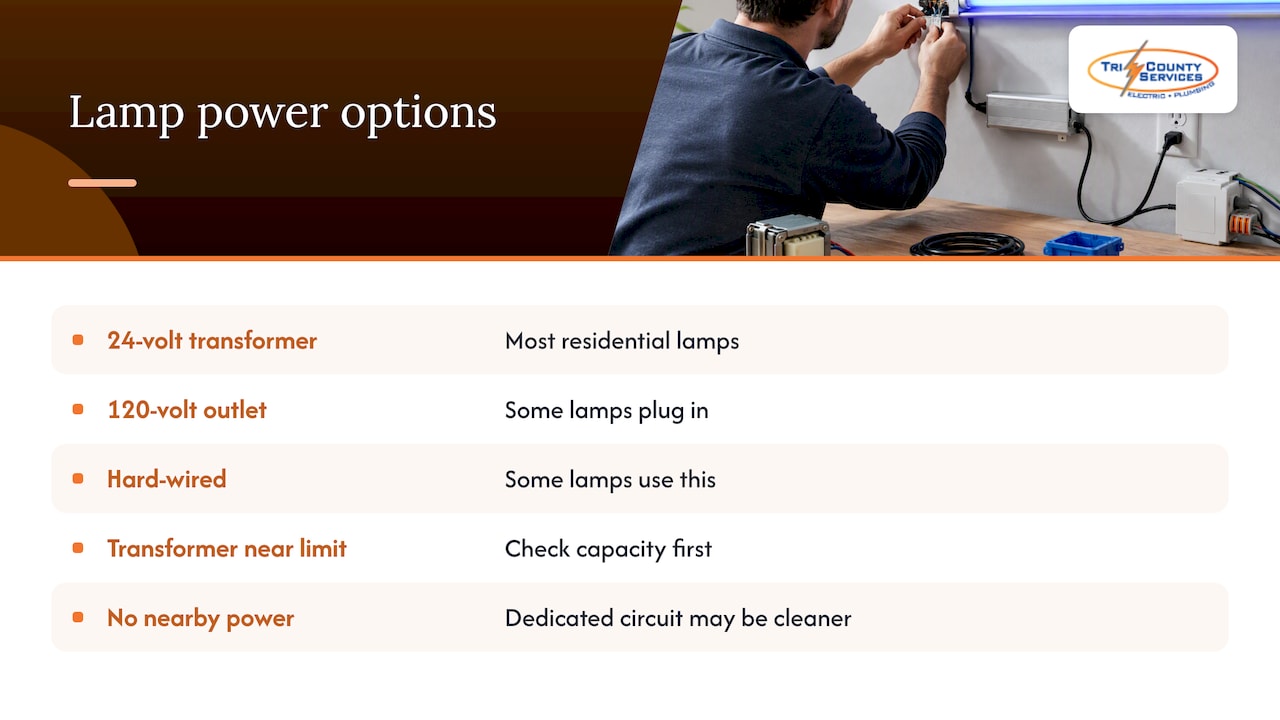
Most residential lamps run from the system’s 24-volt control transformer, though some plug into a 120-volt outlet or are hard-wired. The cost guide lists wiring to a 24-volt transformer, mounting and testing as the labor involved. If the transformer is already near its limit, adding a lamp can cause nuisance failures, so capacity has to be checked first. When there’s no suitable power source nearby, a dedicated circuit installation may be the cleaner answer.
7. Installing and testing the safety interlock
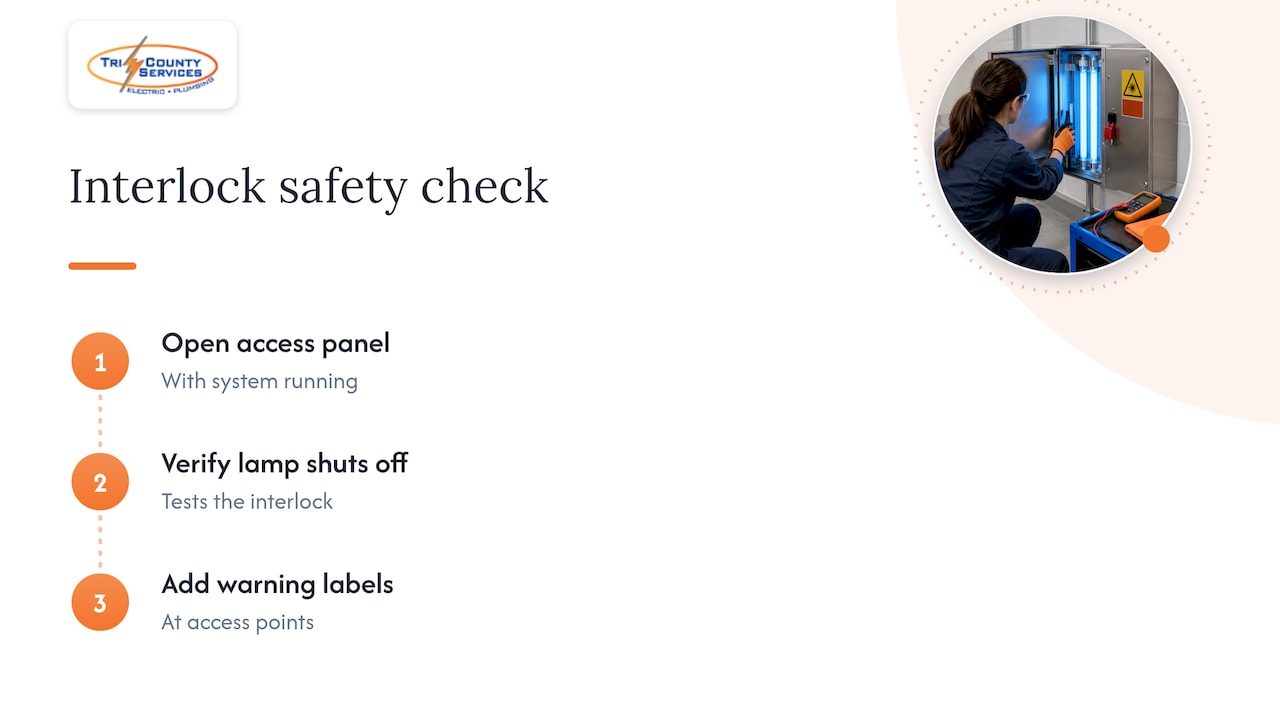
This is the step that protects your eyes. A proper fixture has an interlock that cuts power to the lamp when the access panel is opened. Resideo’s installation sheet and other guidance warn that direct exposure can cause photokeratitis, a corneal burn that often doesn’t show up for 6 to 12 hours. By the time you feel it, the damage is done. Relying on “I’ll just switch it off first” is not a safety plan.
The installer opens the panel with the system running and confirms the lamp goes dark. They should also add warning labels at the access points.
8. Final checks and a walkthrough
The technician closes up, checks for air leaks at the mounting plate, runs the system and confirms the lamp works. You should leave knowing the lamp’s replacement interval, how to tell it’s working (typically through a small window or indicator, never by looking at the bulb) and who to call if something seems off.
What UV-C installation costs
Independent pricing data puts total professional residential installs between $350 and $1,550, with an average of $850. The spread comes from:
| Factor | Why it changes the price |
|---|---|
| Lamp type | A simple in-duct lamp costs less than a coil-surface module |
| Wiring complexity | Distance to power, transformer capacity, any new circuit |
| Access | Tight attics, crawlspaces and basements take longer |
| Shielding needs | More exposed plastic or insulation means more protective work |
| System size | Larger or multi-zone systems may need more than one lamp |
Those are national figures, not a Tri-County quote. If your project needs electrical diagnosis first, our published rate for electrical troubleshooting is $300 to $500 one-off. Call (440) 253-0332 and we’ll explain what applies to your home.
Why this isn’t a DIY job
We know lamp kits are sold online with instructions that make the job look simple. Here is why we’d call a professional first.
- Your eyes and skin. The risk isn’t theoretical. Direct UV-C exposure can cause painful corneal burns and skin damage within seconds, and the delay in symptoms means you won’t know you’ve been hurt until hours later.
- Live electrical work. A mistake with the transformer or a line-voltage connection is a shock or fire hazard, and it can damage the control board on your furnace.
- Hidden damage to your equipment. Without proper shielding and placement, a lamp can slowly destroy the very parts it sits beside.
- Ozone from poor equipment. Some low-quality lamps emit ozone-producing wavelengths below 240 nm. The EPA’s summary notes that reputable manufacturers block these emissions, which makes certified equipment essential.
- Warranty. At least one manufacturer states that installation by anyone other than a qualified professional voids the warranty.
- Effectiveness. The U.S. Department of Energy’s overview says germicidal UV systems must be designed, installed and maintained by a trained professional to work as intended.
A kit saves a little on labor. A burned cornea, a fried control board or a warranty claim denied costs far more.
Our perspective: wiring and safety come first
We’ve been a family-owned business in Northeast Ohio since 1975, and the pattern we see is consistent: the problems rarely come from the product itself. They come from the power supply, the placement and the missing safety details around it.
When a homeowner asks about adding any new device to their heating and cooling equipment, we start with the electrical side. Is the circuit sound? Is there capacity? Is everything grounded and protected? Our rigorous inspections exist because a small oversight in a panel or a connection tends to surface later as a bigger repair. UV-C is no different, with the extra complication that the hazard is invisible.
We’d also say this plainly: UV-C is not a cure-all. If your home’s biggest air quality problem is a clogged filter, a leaky duct or high humidity, a lamp won’t fix it. The CDC’s guidance calls germicidal UV a supplemental measure, and we agree. Start with filtration and maintenance, then decide whether UV-C earns a place in your system. Ventilation and air handling affect air quality in every building, and this overview of exhaust systems and indoor air shows why moving and cleaning air is the foundation.
Our technicians are skilled, certified and respectful of your home, and we schedule flexibly so the work disrupts your day as little as possible. We’d rather spend ten minutes on the phone helping you decide than sell you something you don’t need.
— Lindsay Paramore
Does UV-C replace your filter?
No. Environmental health guidance, including ASHRAE-based advice, treats UV-C as an add-on to high-efficiency filtration such as MERV 13 and to regular HVAC maintenance. The FDA guidance summarized by HPN notes that UVC works only on what it directly reaches, and dust or soil can block the radiation. A filter captures particles; a lamp acts on microorganisms in its path. You want both.
Planning your project
Before you call anyone, gather this:
- The make, model and age of your furnace or air handler.
- A note on what’s bothering you: odors, visible mold, allergies or a wish for added protection.
- The location of your system and how easy it is to reach.
- Any history of electrical trouble, such as breakers tripping or dimming lights.
If the electrical picture looks shaky, it may be worth addressing first. Our installation services cover new circuits and wiring, and a panel upgrade can be the right fix when a home is running out of capacity. For a wider look at what residential electrical work involves, see our homeowner installation guide.
Talk to Tri-County Services Electric & Plumbing
If you’re weighing UV-C for your home in the Cleveland-Akron-Canton area, we’ll help you sort out the electrical side safely, with clear upfront pricing and a satisfaction guarantee behind our work. Browse what we do on our electrical pricing guide, or call our office at (440) 253-0332 to schedule a visit.
FAQ
How long does UV light installation take?
Most straightforward installs take about an hour or two of actual work. Published guidance describes about an hour for a simple job. Tight access, shielding or new wiring can extend that, and a careful safety test shouldn’t be rushed.
What is the difference between a UV light and a UV-C light?
“UV light” is a broad term covering several wavelength bands. UV-C, at 100 to 280 nm, is the band with germicidal effect, while UV-A at 315 to 400 nm does not have the same effect. For HVAC, you want a UV-C lamp from a reputable maker.
Do you have to leave the room when the lamp is on?
Not when it’s installed correctly. The lamp sits inside the enclosed air handler or duct, and an interlock cuts power when the panel opens. The danger arises only if the enclosure is opened or the interlock is bypassed, which is why you should never look at an active bulb.
What is the disadvantage of UV light in HVAC?
The main risks are eye and skin exposure, damage to nearby plastic and insulation, and ozone from poorly made lamps. Lamps also need periodic replacement. A professional installation addresses the first three directly.
How much does it cost to have a UV light installed?
National data shows $350 to $1,550 for professional residential installs. Your price depends on the lamp, wiring and access. Call (440) 253-0332 to talk through your situation.
Sources
- HVAC UV Light Installation Cost and Pricing Guide 2026, LatestCost
- Residential Air Cleaners: A Technical Summary, EPA
- Pros and Cons of UV Light in HVAC
- AirBRIGHT 6 installation instructions, Resideo
- About Germicidal Ultraviolet (GUV), CDC NIOSH
- GUV Air Treatment: Overview, Types, and Technologies, U.S. Department of Energy
- BioShieldUV installation guide
- FDA guides on UVC lights, HPN Online
- HVAC UV Light Installation: What the Job Actually Involves
- Kitchen Exhaust Systems and Indoor Air Quality